How to brew a Honey Pale Lager. This is essentially a Pilsner that has a distinct, but subtle note of honey. Lightly dry hopped to finish. Crystal clear and perfectly crisp, ideal for those summer afternoon BBQ’s.
The idea of this lager is not to make a beer that is strong in honey, like a braggot, but instead, the honey should be subtle yet distinct. If the honey becomes to dominant, the beer will feel too rich and heavy to be a light crisp lager. Some of this will depend on the type of honey you have access to.
Our bees forage on wildflowers, sycamore trees and fruit trees. This gives a fairly strong product, so I am able to use less. If you are using a very light honey, then you may need to increase the percentage a little.
So let’s have a look at the fairly simple recipe.
Honey Pale Lager Recipe Ingredients
Fermentables
3000 g Best Pils Malt (83.3%)
600 g Wildflower Honey (16.7%)
% Alc Vol
5.2 %
Hops
30 g Saaz @ 60 minutes (21.3 IBU)
25 g Mandarina Bavaria (Dry Hop)
Yeast
Mangrove Jacks Bavarian Lager M76
Water
Ca: 49 ppm
SO4: 75 ppm
Cl: 61 ppm
Let’s get Brewing
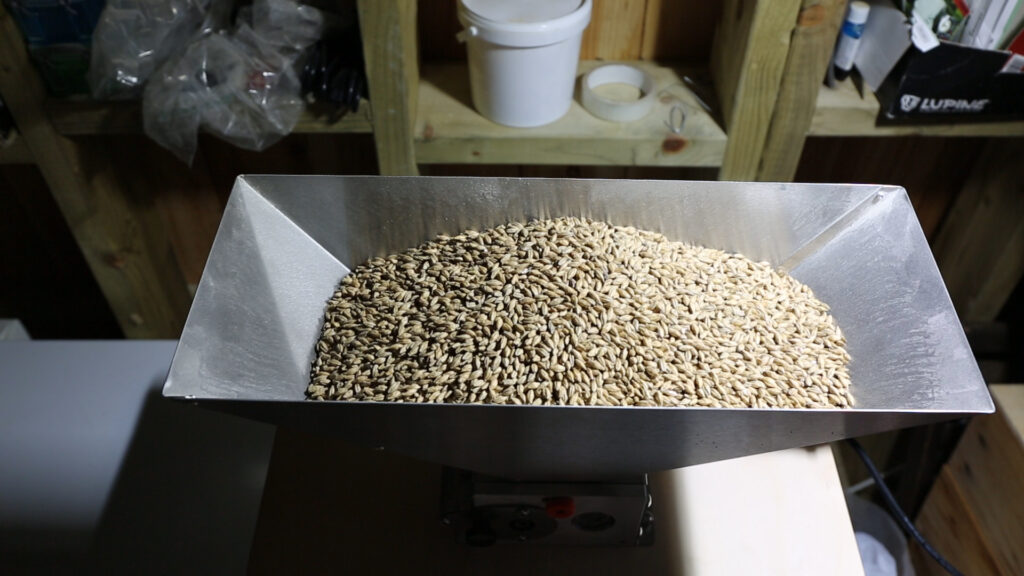
The first job is to weigh out and mill the Pilsner malt. I’m milling this to 1.1mm for the best performance in the Braumeister.
This is a full boil volume mash, so I’m adding 25 litres of water.

The water profile for this is a Yellow balanced profile, so there are only a small amount of minerals to weigh out. These minerals need to go in when the water is still cool, as the calcium chloride is harder to dissolve in higher temperatures.

The Mash
Once the mash water is at 40°c, the grains are poured in. I mash in at a low temperature, and then raise it to where I want to mash. This is partly just because I am able to on my electric system, and also partly because it allows me to get the grains in while the water is heating.
One of the benefits of this is that I get a bit of a step mash as the temperature rises through the ranges, which gives a small ferulic acid rest and a small protein rest. Neither of these are necessary to brew a honey pale lager, but they can’t hurt…
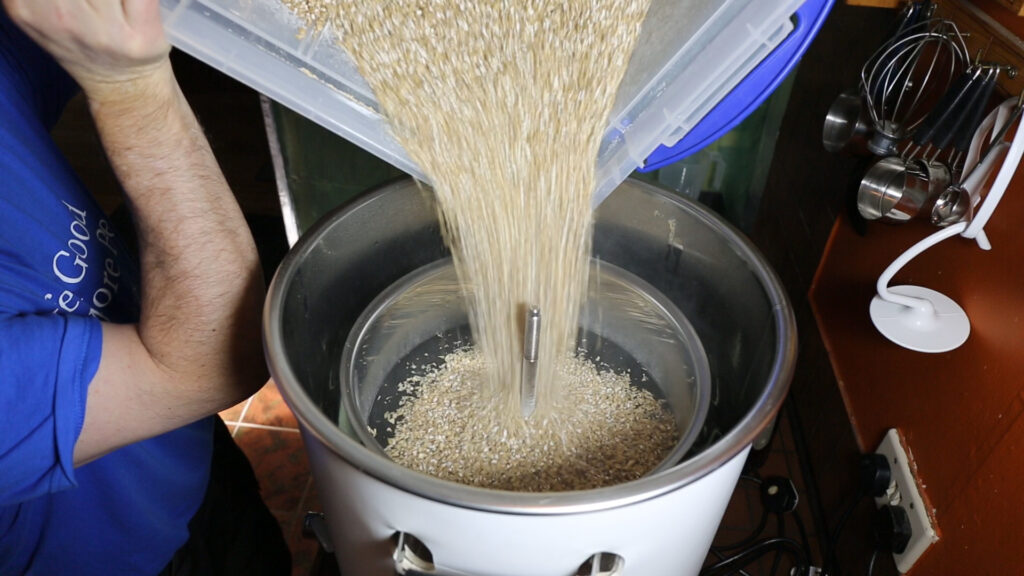
With the grains in, I’m giving the mash a good stir, to remove any dry dough-balls in the bottom of the grain pile.

Then on with the top filter and start the recirculating mash. This is getting a 60 minute mash at 67°c.

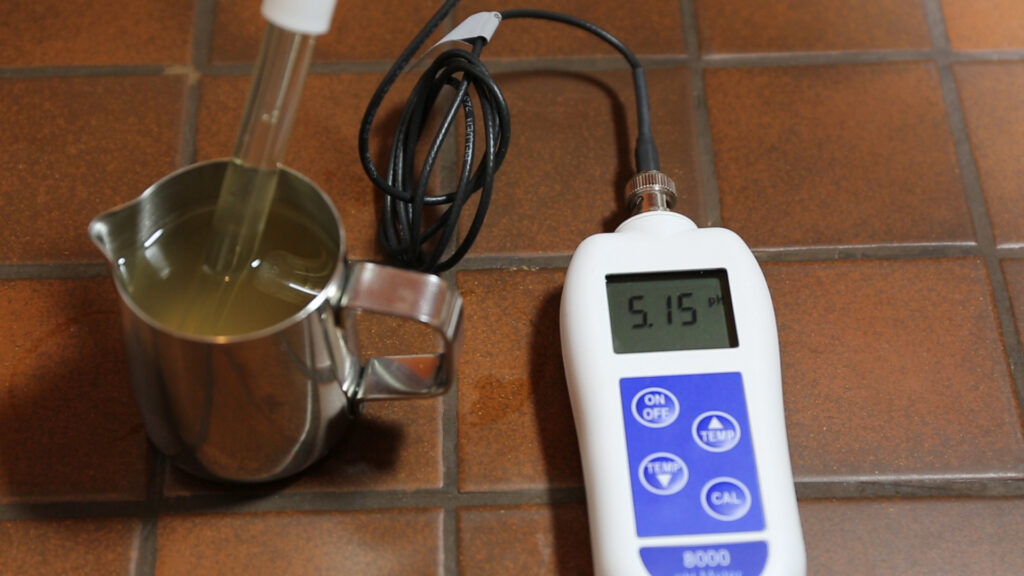
As the mash temperature reaches the low 60’s, it’s time for a ph check. To brew a honey pale lager, or any crisp, pale beer, I want a fairly low ph mash, so I’m aiming for around 5.2ph. The lower ph will give the best conversion and therefore fermentability of the wort. This should help with the clean, crisp body I’m after here.
A decoction
This honey lager is getting a decoction of sorts. Halfway through the mash, I am removing somewhere between 1/3 to 1/2 of the grains, and placing them into a pot with a bit of the liquid, to be boiled as a decoction.
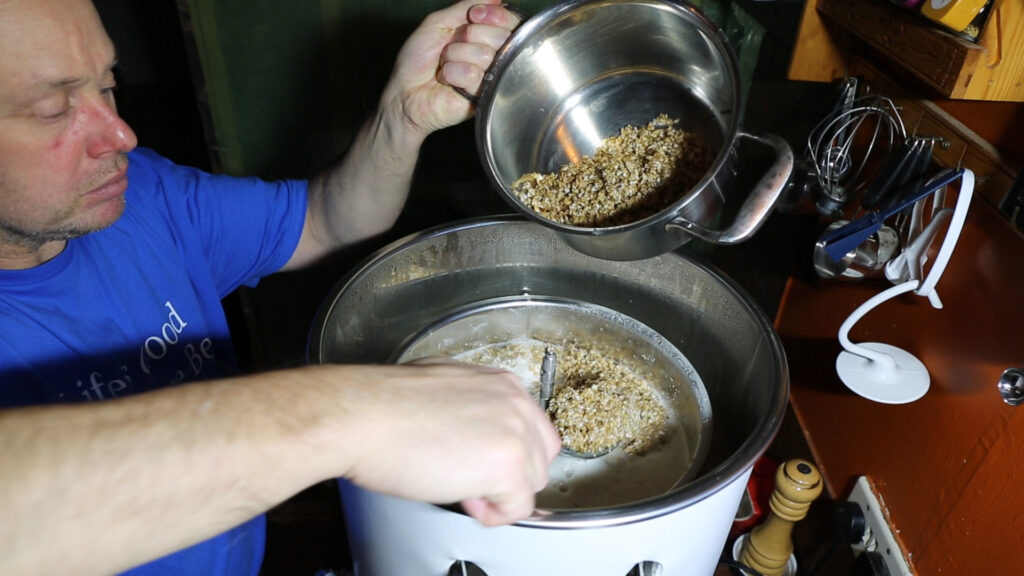
With the grains out, the filters are replaced, and the mash continued for the remaining grist.

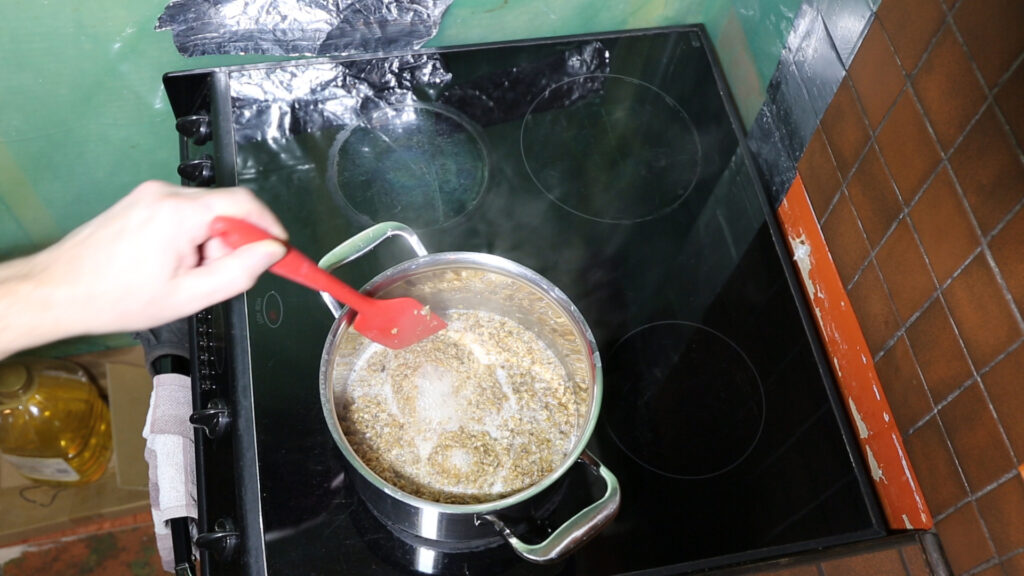
The grains I have taken for the decoction are now being boiled for 15 minutes.
If this was a ‘true’ or ‘full’ decoction, then i would be holding the temperature in the higher mash range (⁓71ºc) to break up some of the longer sugar molecule chains. It would then be boiled.
Instead, I am just boiling the grains, which I find is enough to give more body to the final beer by possibly extracting some tannins. This gives great head retention. There is also a definite flavour benefit, although this is hard to define, even in a side by side comparison.
Mashing out
After the decoction has been re-incorporated with the rest of the mash, and the 60 minute mash is complete, it’s good practice to check for starch conversion with an iodine test. Place a small sample in some iodine, if the iodine stays yellow, then there is no starch present. If however, it turns purple/brown, then continue mashing for longer. With today’s well modified malts, it is very rare to not pass this test.
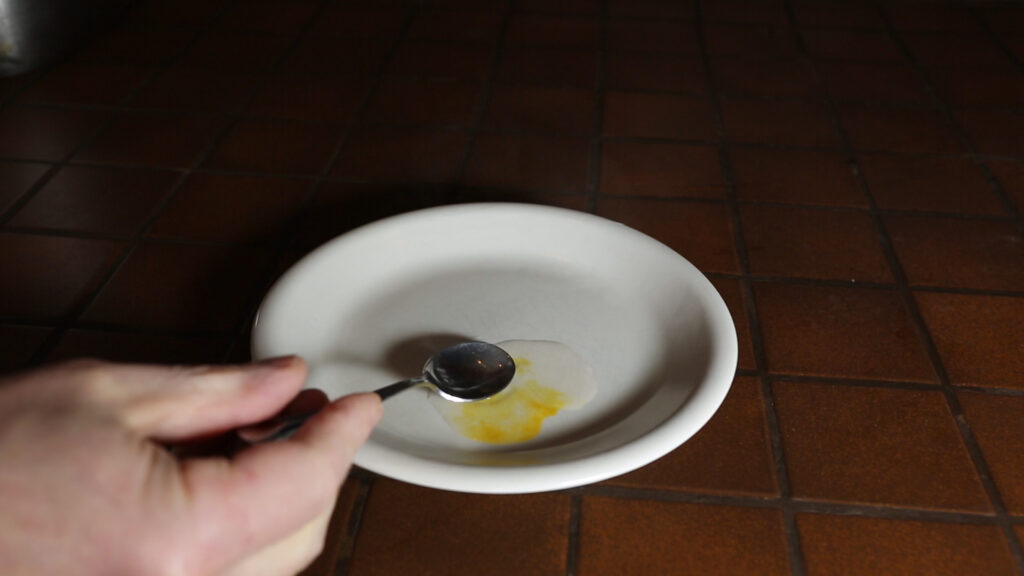
Iodine test passed, it’s time to mash out and remove the grains. I’ve then set the kettle to boil. While I’m waiting for this to heat up though, I’ll get the 30 grams of Saaz hops weighed out for the boil addition.

The boil hops goes in at 60 minutes. Being Saaz, this will give the beer a ‘lager familiar’ bitterness, and will offset any sweet impression of the honey.

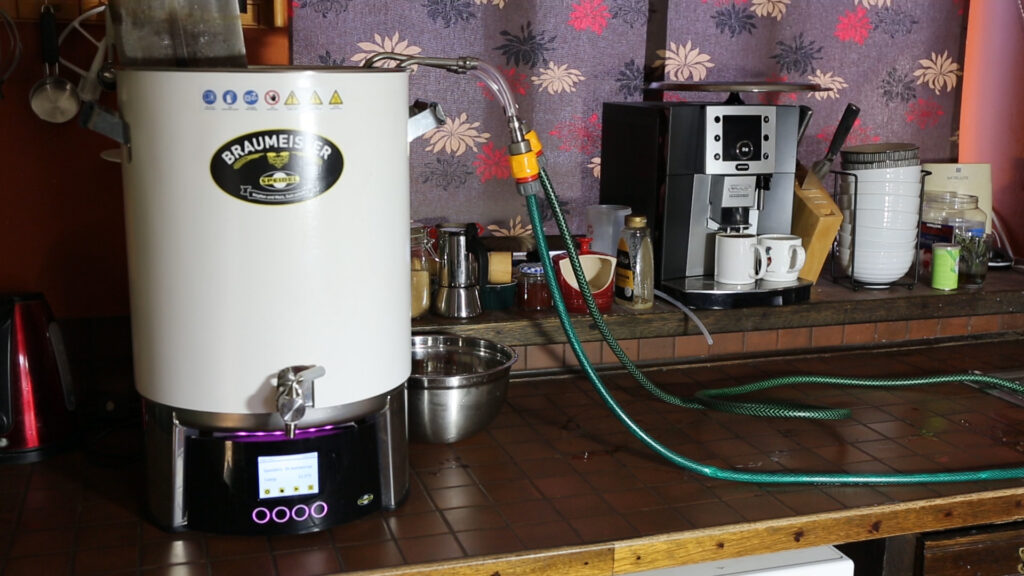
After 60 minutes boil, and no further additions other than a whirlfloc tablet at 15 minutes, the immersion chiller goes in for a boil sanitisation. The wort is then cooled as low as my ground water temperature will allow.
Put the ‘Honey’ into the Lager
If we want to brew a honey pale lager, then we need some honey….
Now is a good time to measure out the 600 grams of honey. This is our own wildflower honey, which has a fairly pronounced taste when used in beer. The type of honey you use in this, will affect how much, and what flavour of honey is perceived in the final beer. If using an extremely light or dark honey, I would think the quantity would need to be adjusted slightly. Your call…..
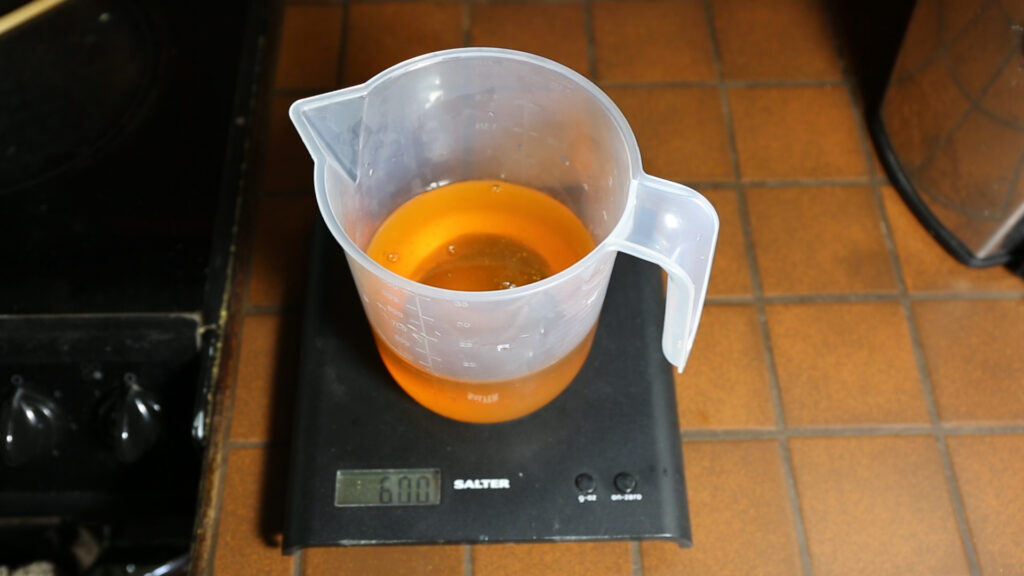
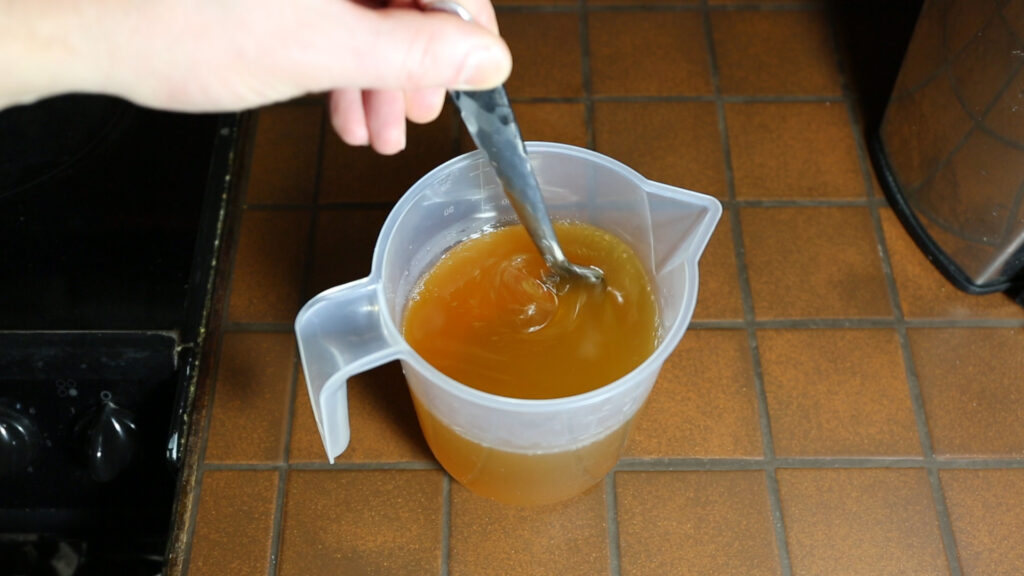
As the honey is going into my unitank, and would likely just settle to the bottom in a lump, especially at lager temperatures of 10°c. I’m mixing the honey with some ‘warm’ wort, just to liquefy it a little, and help it mix in the fermentor.
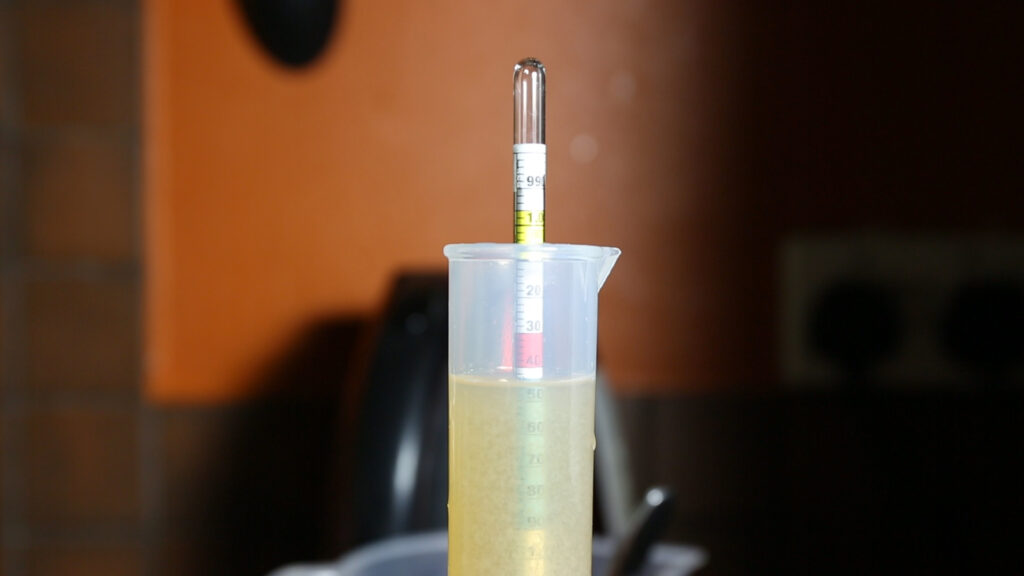
A quick gravity check pre-honey addition, shows an original Gravity of 1.043. After the honey is added, we should get 1.054
Normally I would be hydrating yeast at this point. This time however, I will just be pitching this onto the yeast cake from my Czech Pils. This means we have a large amount of yeast, and we should certainly get a nice clean fermentation. The yeast I’m pitching onto is Mangrove Jacks M76 Bavarian Lager.
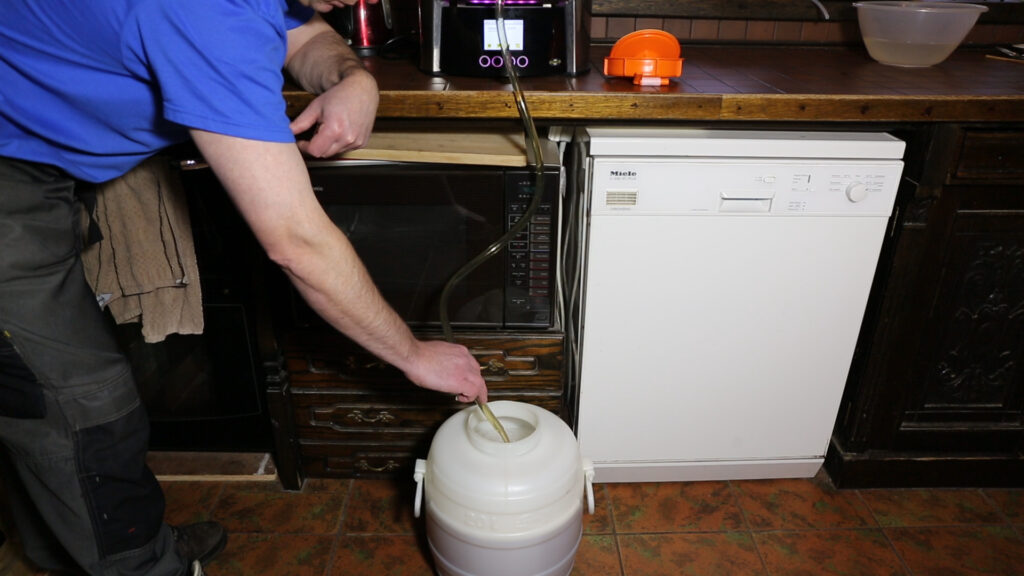
With the wort cool, I have to transfer into a fermentor, just to carry it out to the unitank, and transfer again. I really need to start building my home brewery…..
Once it’s in the unitank, then I hook up my oxygen regulator to the carbonation stone, and give it 30 – 60 seconds of oxygen. I do this for all lagers, not so much for my ales.
Fermentation
After 3 weeks fermenting at 10°c, and a week of D-rest at 18.5°c, followed by a couple of days cold crash, it’s time to transfer across to the other unitank for clearing and carbonating. This is potentially unnecessary, as after all, it’s a unitank, but I find when it comes to bottling, there is always a lot of yeast slides down the side or falls off the coiling coil, and adds sediment into the bottles. I like sediment free bottles, so I accept the extra work and cleaning.

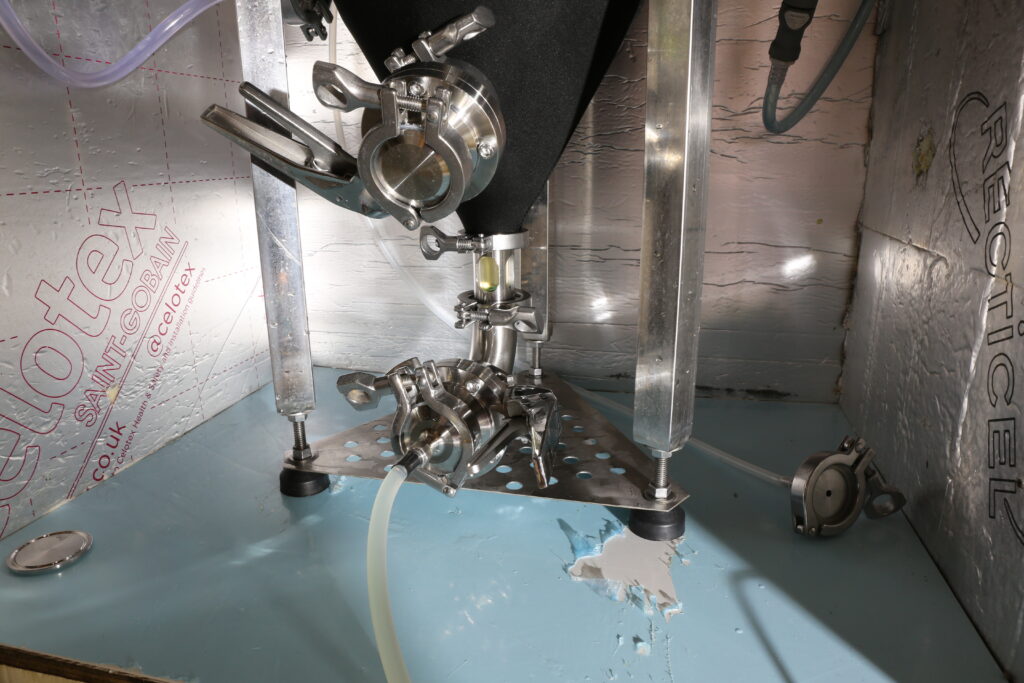
As you can see from the sight-glass below, the beer is already very clear at the time of transfer.
Dry Hopping
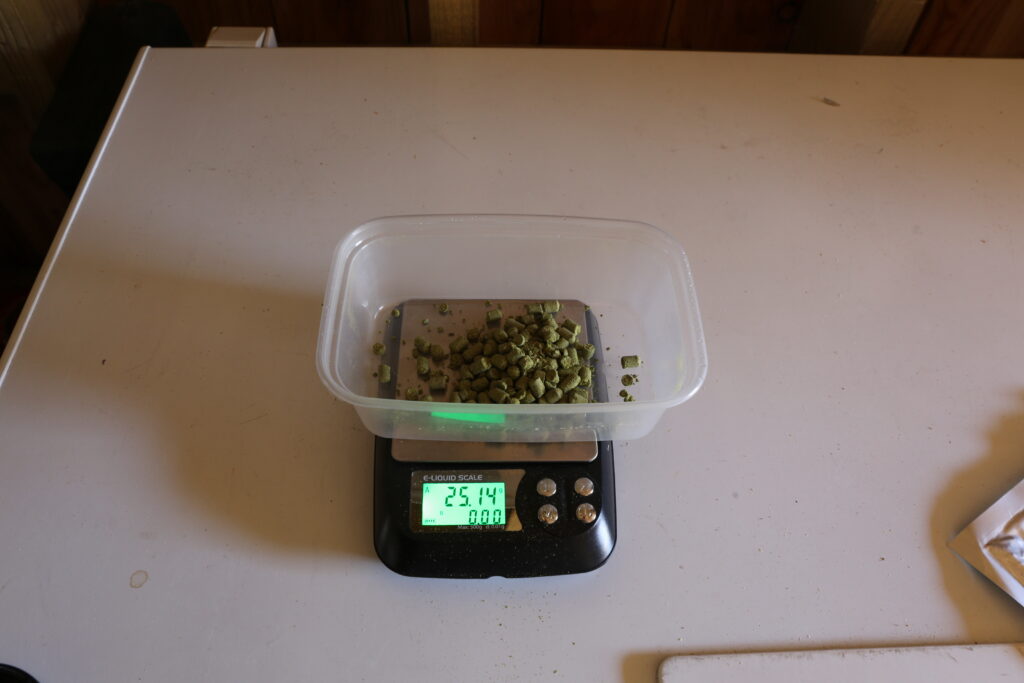
After the transfer, I have cooled the honey lager to 3°c, so I’ve weighed out 25 grams of Mandarina Bavaria for dry hopping.
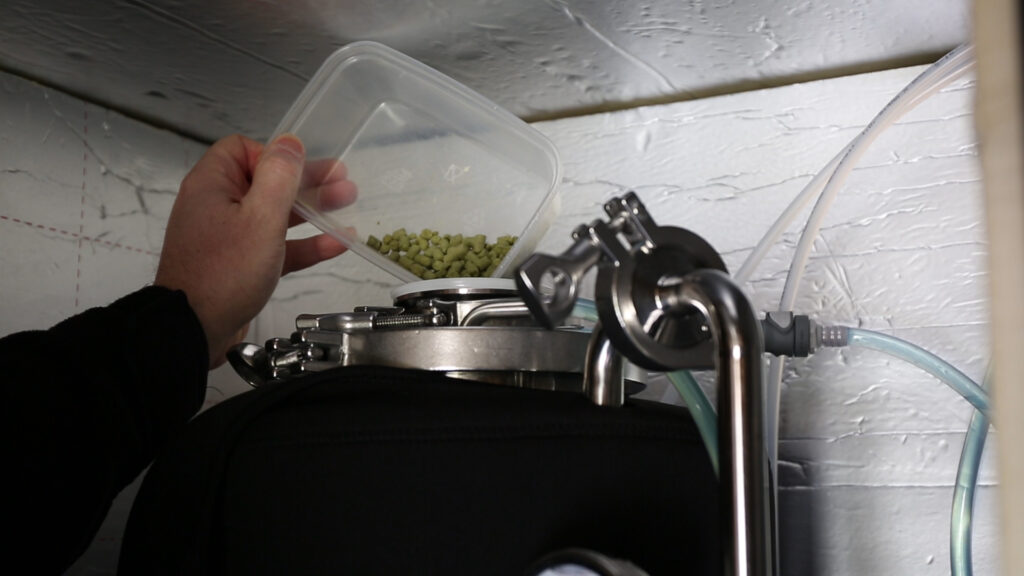
In order to keep oxygen out, I am running CO2 through the tank, and creating a positive flow out through the top.
One of the problems with dry hopping in a unitank, is that the hops falls straight into the cone at the bottom, and there is very little circulation happens. The solution to this is to connect the CO2 line up to the bottom drain, and blast gas through to disperse the hops. I do this about 3 times a day.
I generally dry hop cold for two days, much due to the revelations in Scott Janish’s: The New IPA.
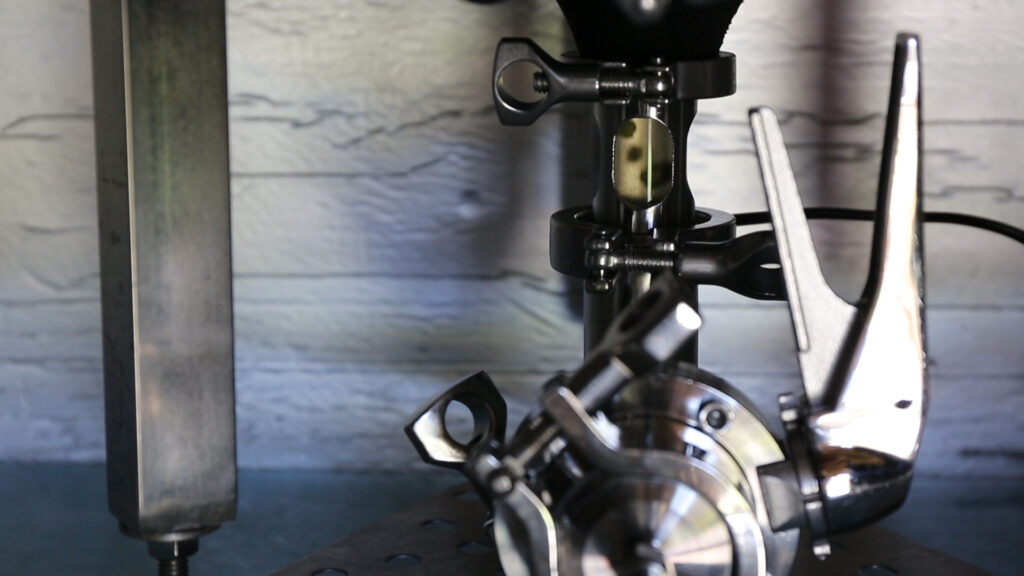
After two days dry hop. I drain the hops out, fine this beer with gelatin, and carbonate to get an approximate 2.4 volumes CO2 when bottled.
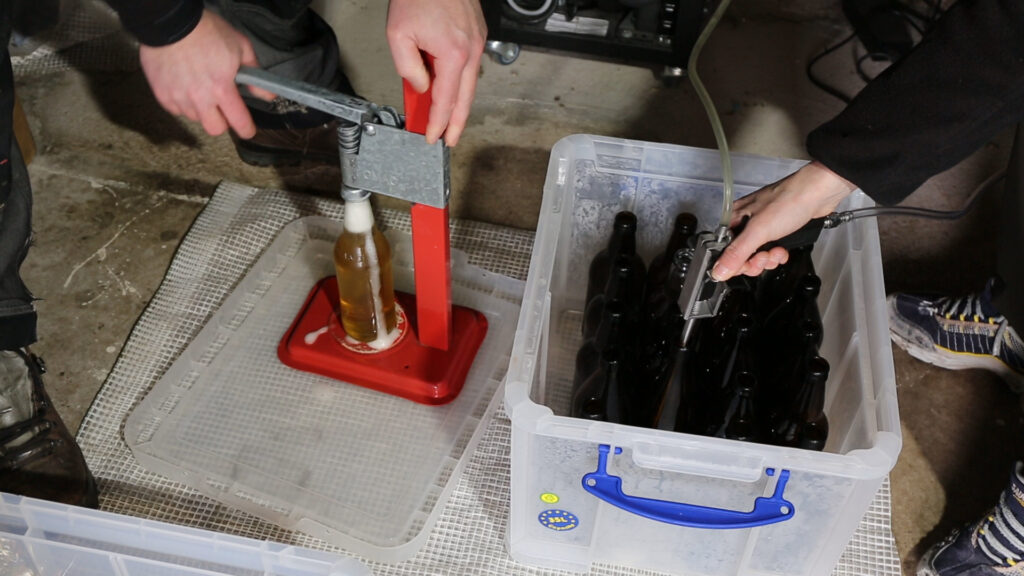
I like to leave my beer to ‘settle in’ or condition a little in the bottles, so after a week, it’s time to test one out.
Pouring the Honey Pale Lager goes well, there is a good pillowy foam head that forms and lasts. The carbonation is a good level, and the beer is extremely clear. I’d even venture to say it’s dropped bright.

The tasting
The aroma of this pilsner is of malt and honey. The hops is faint, but also there.
The first sip gives notes of malt and the spicy Saaz hops. Then the honey comes through. If anything, this repeats itself, with the malt appearing again, and again then the honey.
On the back end is the Mandarina Bavaria dry hop. This dry hopping is feint, but there. It’s herbally, and slight touches of mandarin. If there is a disappointment with this beer, it is only the subdued dry hop. I should have known. Mandarina Bavaria requires about a week to dry hop. It’s unusual in that way, but I have made this mistake before, and I’ll correct it for the next time.
In all however, this is a stunningly clean, crisp and delicious lager. Certainly it will be going onto the regular brew list.
And… that’s how to brew a honey pale lager.

If you’d like to watch the full brew process video. Please click here to watch on YouTube.