How to brew a pine IPA. Or at least an IPA with Fir Tips. At some point I’ll get round to making a true pine based beer, but until then, I’ll continue to use the tips along side of more traditional additions such as hops.
I’m not wanting this to taste like a full on pine tree. We’re just trying to brew a pine IPA.
The Fir tips should give a subtle sweet candi like flavour, that comes through towards the end of the mouthful. This has been my previous experience of Fir tips in cider and other beers, but that was when I used them in the whirlpool or dry ‘hop’. This time, they’re going into the mash.
Pine IPA Recipe Ingredients
Fermentables
1700 g Pale Malt (53.1%)
700 g Flaked/Rolled Oats (21.9%)
500 g Best Munich Malt (15.6%)
200 g Honey Malt (6.3%)
100 g Crystal Malt 20L (3.1%)
Hops
50 g Saaz @ Mash (7 IBU)
20 g Fir Tips @Mash (? IBU)
10 g Idaho 7 @15 mins (9.8 IBU)
40 g Idaho 7 @ Whirlpool (5.5 IBU)
*40 g Mosaic @ Primary (7 days)
*40 g Citra @ Secondary (2 days)
Water
Ca: 59 ppm
SO4: 55 ppm
Cl: 95 ppm
Yeast
Mangrove Jacks Belgian Ale M41
Measuring Up
Let’s get to making this. I start by weighing out the grains. They’re then milled down to a crush of 1.1 mm in the MattMill Master.

The Braumeister is then filled with 25 litres of spring water.

As our spring water is almost devoid of minerals and salts, I’m weighing out the necessary minerals to get to a light, but malt forward profile. This is unusual for an IPA, however it’s a personal preference. We like our IPA to showcase the malt as much as the hops, and as the hops are so dominant, it makes sense to accentuate the malt somehow.

Mashing In
Once the water is up to temperature of 40°c, the grains are added to the malt pipe.

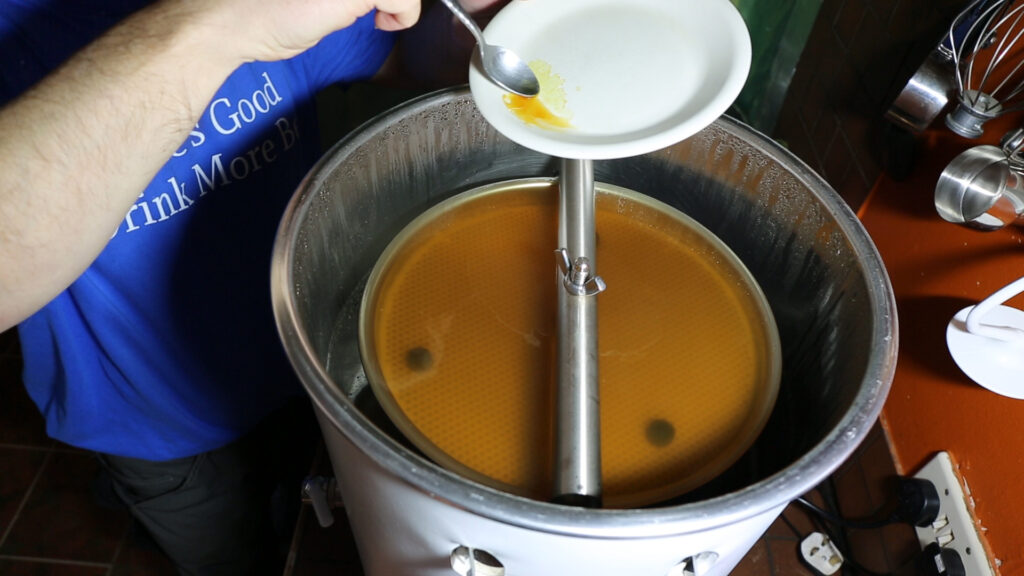
With the grains in, the Saaz can go in for the mash hop.
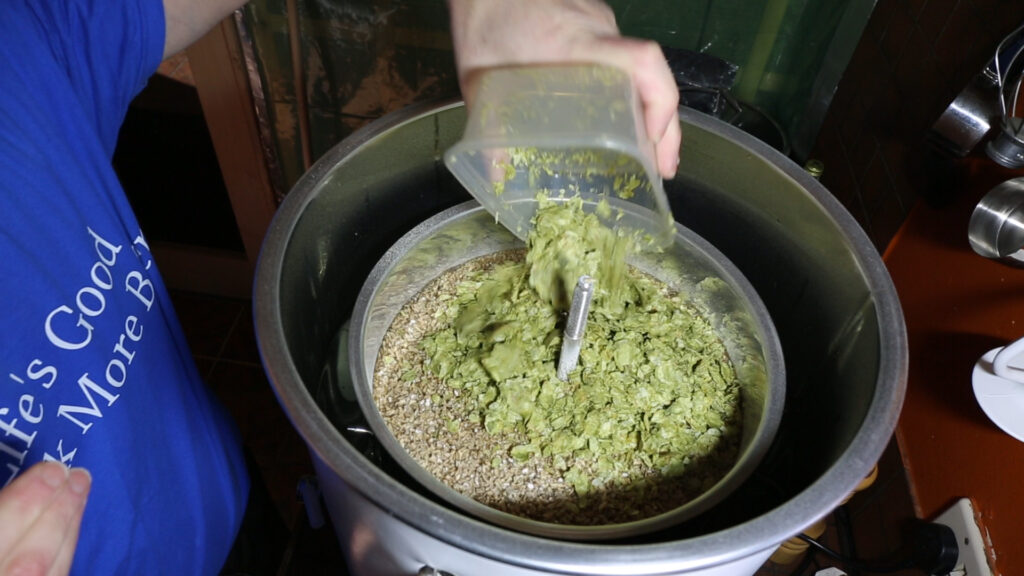
This is where we’ll also add the Fir Tips. These are collected by me every spring, and then frozen in 20 gram bundles, to be used throughout the year.
Fir tips don’t provide a very strong pine flavour. Instead, they give an almost candi like sweetness, that is only mildly pine-like. The idea of adding these during the mash, rather than my usual whirlpool, is to try to get a little more depth of pine flavour from them by drawing more resin from them. We’ll see…

With all that in the mash tun, the oats get poured on top. I use a large percentage of oats to give body and smoothness to the beer. They also give great head retention.
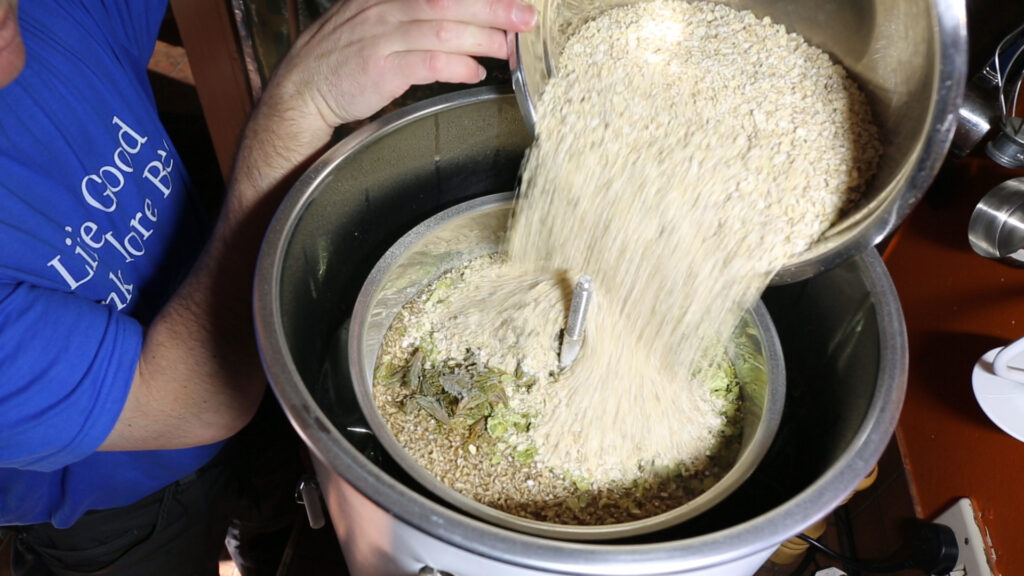
Give everything a really good stir to break up any dough-balls.

With all the fermentables in, I’ll put on the top filter and start the mash.

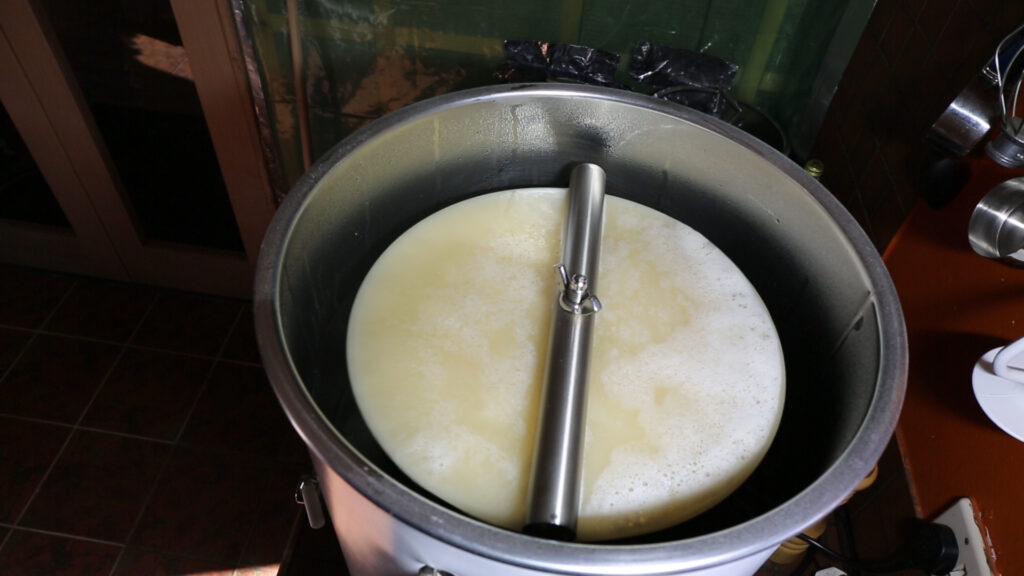
Start the recirculation
The mashing in temperature for nearly all my mashes is 40°c. This is a stepped temperature mash of sorts, as it started at 40°c, and slowly heats to 68°c for 60 minutes, then a mash out at 77°c. It doesn’t sit at any mid stages for any length of time. However, there is certain amounts of conversion occurring, as the wort slowly heats up through the different temperature/conversion bands. More on that another time perhaps….
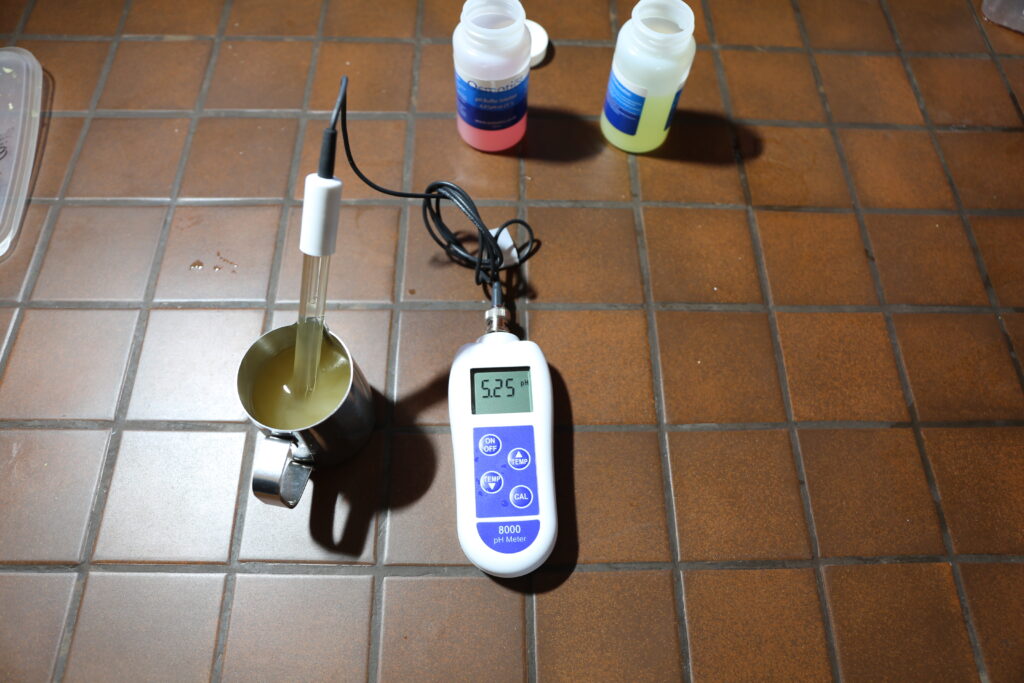
As the temperature reaches the low 60’s °c, the ph test shows 5.25. I was aiming for 5.3, so I’m happy with this
After a total mash time of 60 minutes, an iodine test is required. If the wort has any starch left, then the iodine will go purple/brown. As the iodine in this stays yellow, then we know that the starches have been converted to sugars. This can continue to the mash out at 77°c. If the test was failed, then I’d continue the mash for longer to fully convert the starches.
I wish you could smell this at this point, it’s the most amazingly fragrant, sweet candi aroma. The whole house smells of it. It’s great.
Boil that Pine IPA
This is getting a 60 minute boil as usual. There are no early hop additions, as the mash hops are doing that job. The only boil hops of 10 grams Idaho 7, go in at 15 minutes to go.
At the end of the boil, the immersion chiller coil goes in to get boil sanitised. The wort temperature is then lowered to 74°c for the ‘whirlpool’. I can’t properly whirlpool in this, but the recirculating pump works well, plus I give it an occasional stir. Below, I’m putting in 40 grams of Idaho 7 for a 15 minute re-circulation.

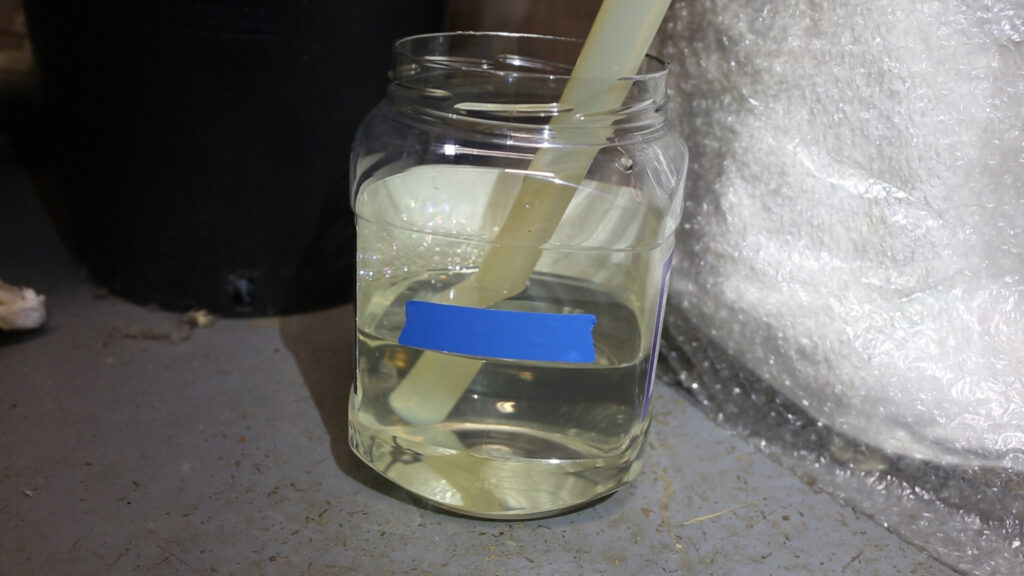
While we’re waiting for the whirlpool to complete, it’s time to get the yeast ready. I like to re-hydrate my dry yeasts, which is done with about 100ml of water at 30°c (30° for ale yeasts and 20° for lager yeasts)

A quick check of the gravity shows 1.042

After chilling the wort to a fermentation temperature of 19°c, it gets transferred to the Speidel fermentor, and the yeast is poured in. The wort gets good aeration with is transfer method, plus being a dry yeast, I don’t feel a need to use the oxygen wand on this.

Fermentation and dry hopping
This yeast is fast to start. By 2 hours after yeast pitch, it’s already showing signs of fermentation.
Having used this yeast quite often, I know fermentation will be finished in 12 days, so the first dry hops will be added on day 5. This will give 7 days dry hop at fermentation temperature, and will give some bio-transformation as well. On day 12, I will transfer to the unitank, and then hold it at about 22°c for a couple of days, just to help finish and lingering fermentation.
On day 12, we transfer the Pine IPA. I’m using a simple haul system below, to lift the fermentor up so I can get a gravity transfer.
Before transferring the IPA, the Unitank was purged with CO2. Any time post fermentation , Oxygen is the enemy.
Once the transfer is complete, the temperature is raised to 22°c for a couple of days.

Before adding the second dry hops (40 grams of Citra), the IPA is cooled to 3°c. I find at these temperatures, the hops give a fresher, cleaner hop taste.
I will drain out this hop addition after 2 days.
To ensure no air is drawn in whilst adding the hops, I run CO2 through the tank to give a positive flow out through the top.

Bottling up our Pine IPA
After dry hopping, the beer gets cleared with gelatin, it is then force carbonated prior to bottling.
I’m aiming for about 2.4 volumes of CO2 after bottling.

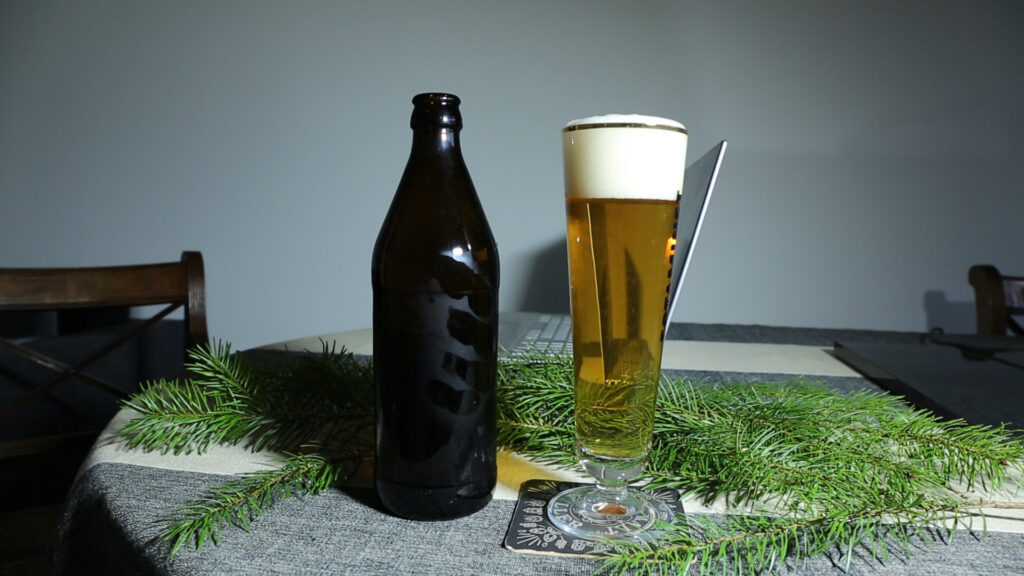
The finished product
After a week to condition a little, it’s time to sample the beer. As you can see below, it pours well. Also, it’s very clear, maybe not quite bright, but pretty good.
The Taste
On opening the bottle, there is a reassuring his. Confirmation of a good carbonation level. Pouring the beer develops a good head. The head retention is excellent on this beer, which is probably largely due to the high percentage of oats.
The aroma is quite strong. There are obviously strong notes of hops, the tropical fruit of the Mosaic is first to come through, then followed by the Citra. Behind it all, is definitely that candi like, sweet Fir tip smell. It smells absolutely lovely.
The first sip follows a similar path. Tropical flavours, citrus and then sweet resiny pine. The beer behind the hops shines through, with the Belgian yeast giving it’s own fruity esters. All in all, this is one the best IPA’s I’ve both brewed and drunk. This goes on the permanent house beer list.
If you’d like to watch the full brew process, please click here for the YouTube video.