Pilsner was first brewed in Plzen, in the Kingdom of Bohemia in 1838, by a German brewer. This clean new style was to become the worlds most brewed and ‘imitated’ beer. The pilsner style was also adopted just across the border in Germany, and they soon developed their own versions of this clean beer. Using their own ‘Noble’ hops and water profile, they started to brew South German Pilsner.
German Pils (South) Ingredients
Fermentables
3800 g Best Pils Malt (100%)
Yeast
White Labs WLP835
German X Lager Yeast
Hops
35 g Tettnang @ 60 minutes (16.6 IBU)
35 g Tettnang @ 30 minutes (12.8 IBU)
15 g Saaz @ 10 minutes (2.6 IBU)
Total IBU 32
Water
Ca: 49 ppm
SO4: 75 ppm
Cl: 60 ppm
% Alc Vol
5.0 %
Measuring Up
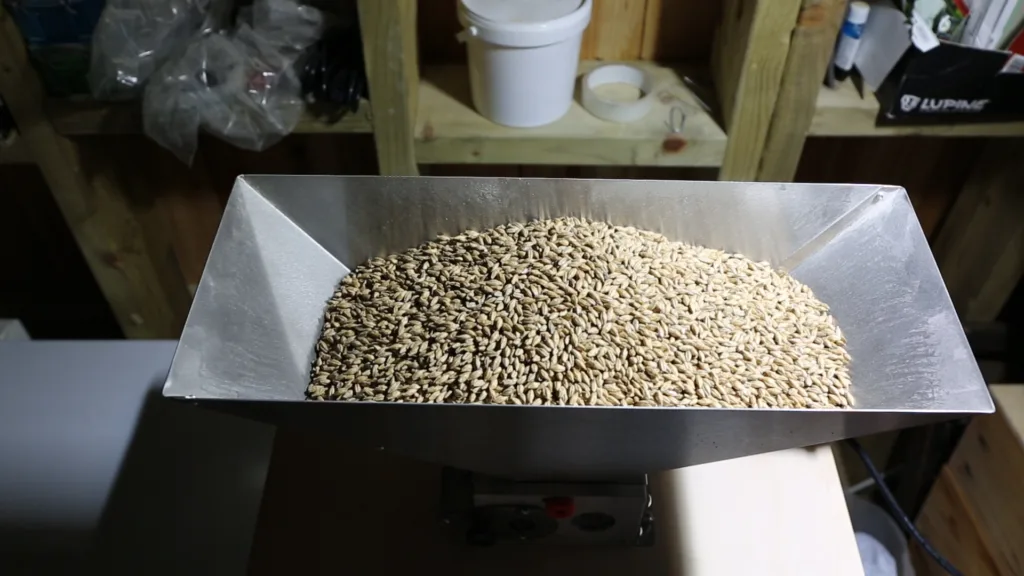
Let’s start by weighing out 3.8kg of Pilsner malt. I’m using Minch Malts Lager malt (Pilsner), which is proving to be an excellent pilsner malt and works very well to brew a German Lager. It has all the characteristic bready taste that I expect from a German malt, and it gives very good head retention in the final beer.
I have set the gap setting on the mill to 1.1mm. The grains for the Braumeister brewing system that I use performs best with this setting, and it gives the best efficiency, without wort fountains.
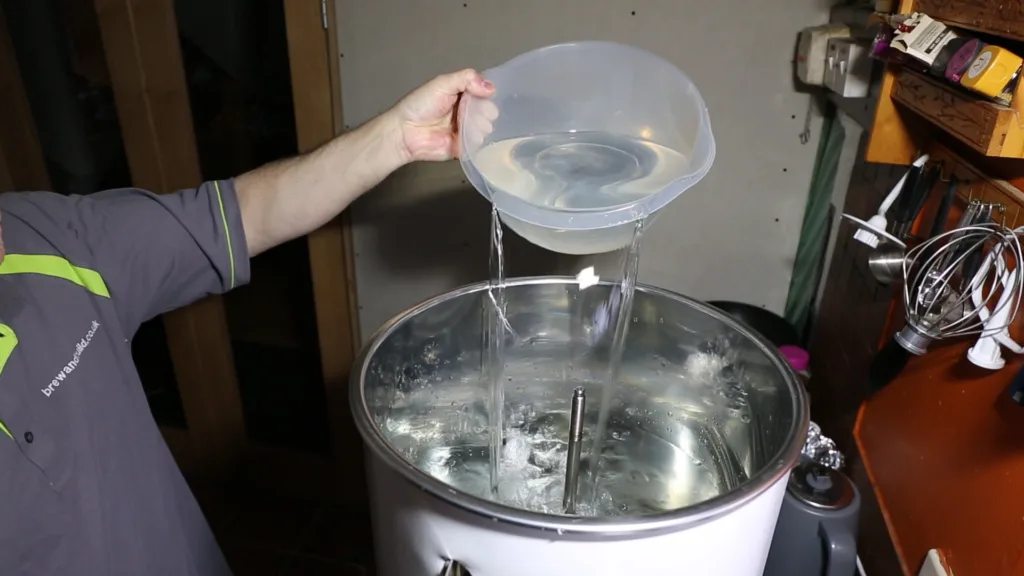
The water profile is is an important aspect when trying to brew a south German lager. Southern Germany has soft water, which is what makes the beer malty and more ‘delicate’ than it’s northern counterparts. I’m going for a ‘Yellow balanced’ profile, which is really just to bring my spring water up to 50 ppm of calcium.

The mash water volume for this is 25 litres. I’m using my own spring water.
The Mash
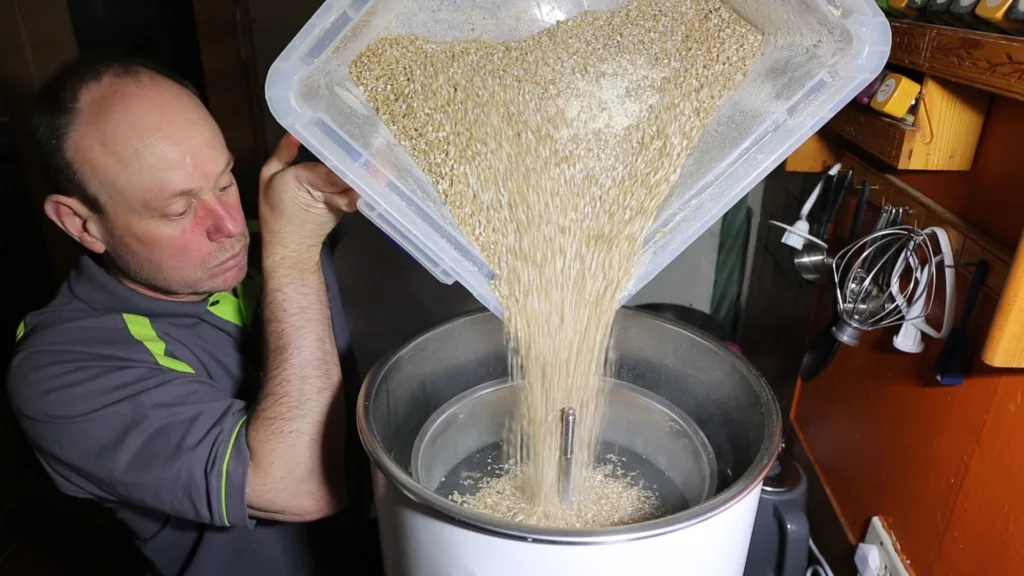
When the Braumeister is full and the water is at the doughing-in temperature, we can now add the 3.8kg of pilsner malt.
Now stir the mash well, it needs it after pouring in all the dry grain. This is to remove any dry lumps, and allow the mash water to get to all the grains.
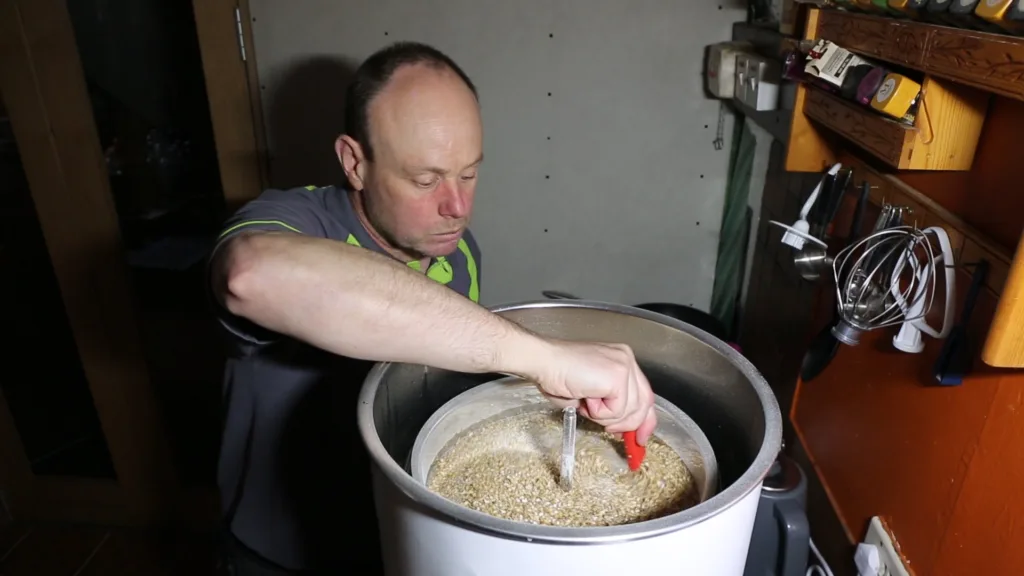
We now put the filters on, and the mash recirculation begins. I mash in at 40°c, then step mash. The first step is at 65°c for 30 minutes, the second at 71°c for 40 minutes, with a mash out step at 77°c.
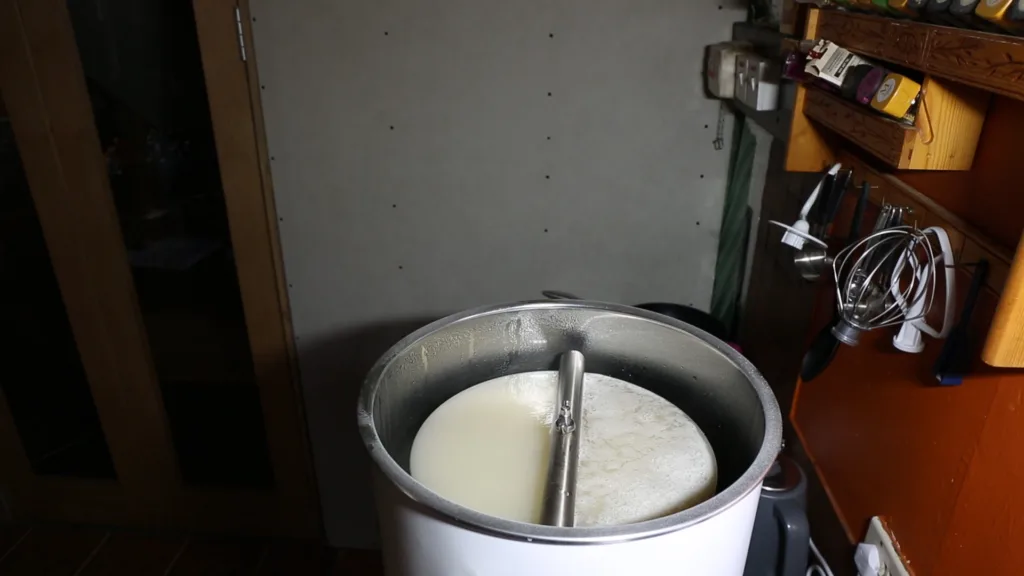
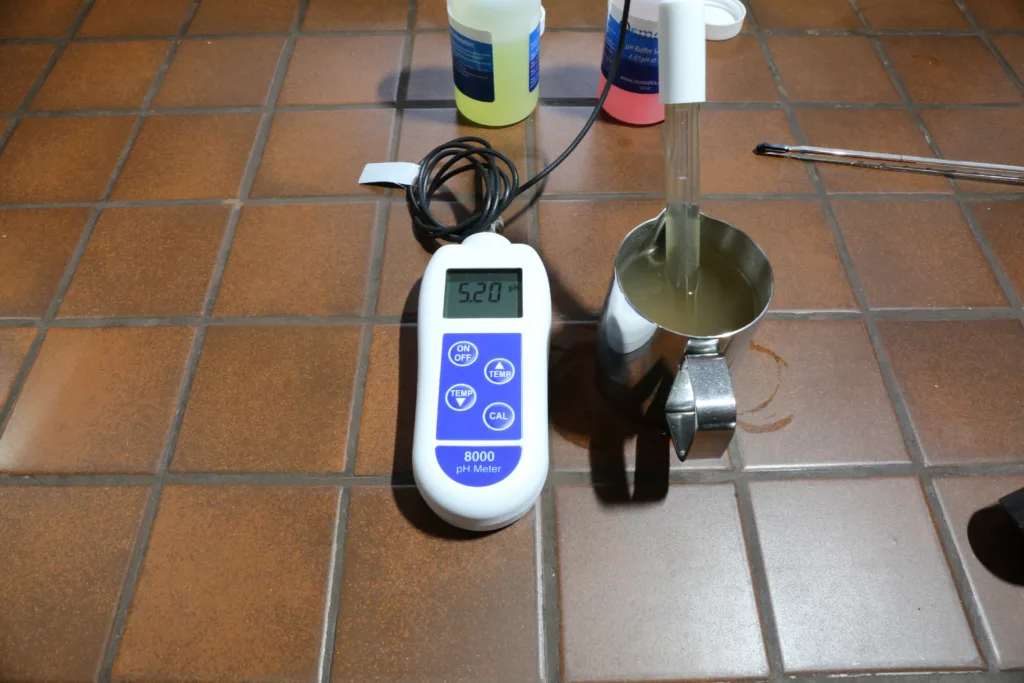
The heating is not fast on the Braumeister, so it takes about 20 minutes to reach the saccharification temperature range in the low 60 degrees celcius. This gives me a chance to calibrate my ph meter, and once the mash reaches 60°c, I can check the ph of the wort. This shows a nice 5.20, perfect for a pale lager.
Decoction
It’s time to decoct. Decoction mashes were very common in previous days, as the malt was not as well modified. Today’s malting tecniques are a great deal more advanced and consistent, so decoction has fallen out of favour.
I am not decocting for the benefits of starch conversion, instead, I feel that it gives more flavour and head retention, which is important when I’m brewing a German lager (or any Pilsner for that matter).
To achieve this, I remove the malt pipe, and then set the Braumeister to continue the mash cycle with the liquid that is remaining in the kettle. By doing this, I will be able to maintain the mash temperature in the kettle, which will allow the starches to continue converting to sugars.
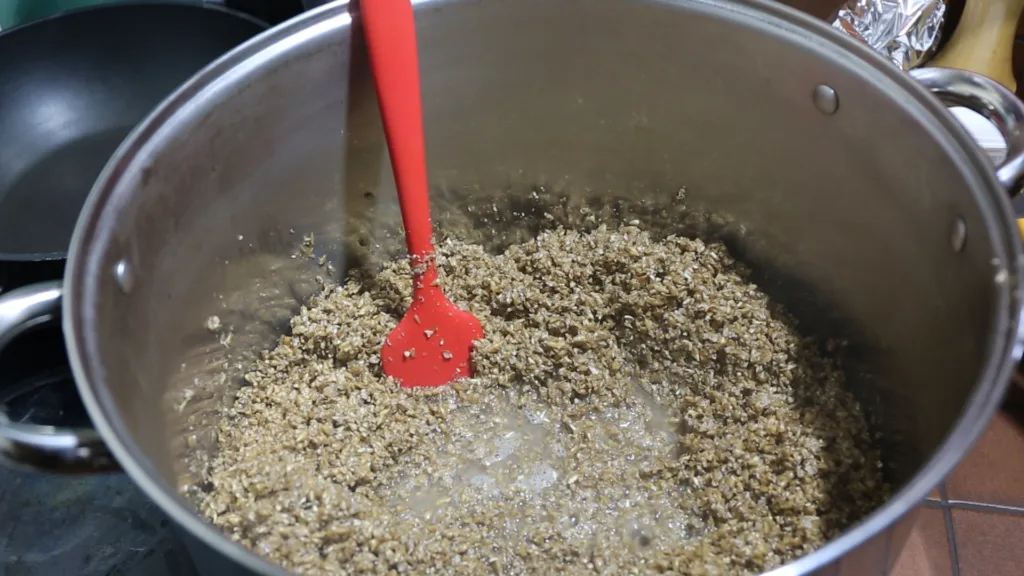
Now we can remove the grains from the malt pipe, and place them into a large pot. There should also be enough liquid to almost cover the grains.

Now, turn the heat up and bring this ‘thick’ section of the mash to the boil.
My standard decoction boil is 15 minutes, but you will read of suggested boil times from 5 minutes, up to two hours.
Once the 15 minute boil is complete, re-incorporate the grains with the liquid, back into the mash kettle, and continue the mash schedule.
Boiling the German Pilsner
Once the mash is complete, remove the grains, and start the boil.
You can’t brew a German Lager without German ‘Noble’ hops. So whilst the wort is heating, I can measure out the hops. All Tettnang, at 60 minutes, 30 minutes and 10minutes.
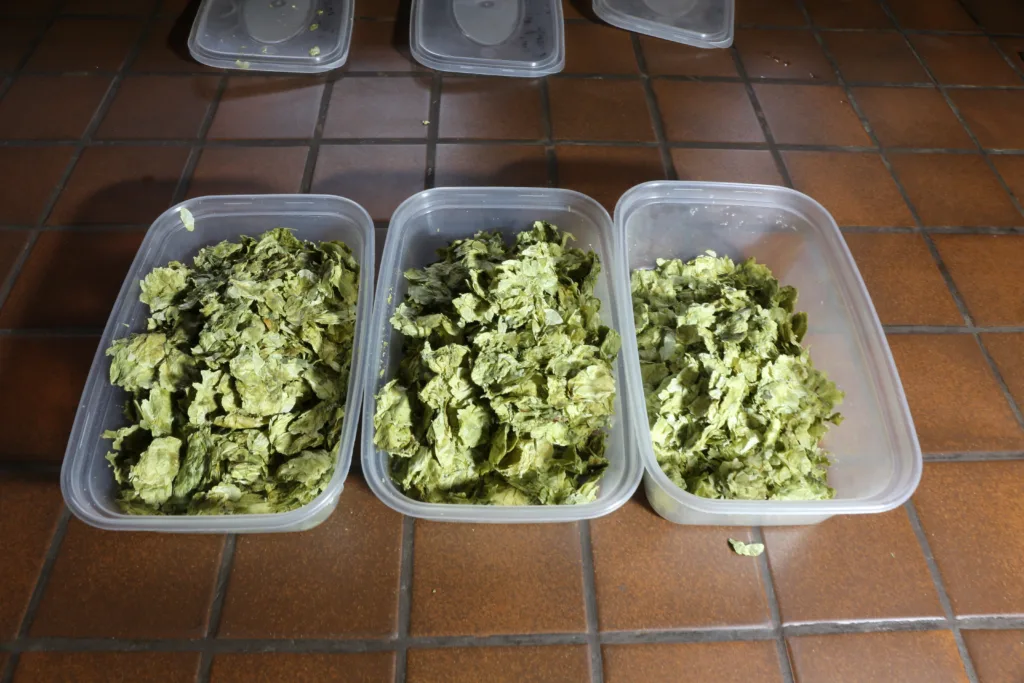
When the wort reaches a rolling boil, we add the first hops. The hop additions are 35 grams at 60 minutes, 35 grams at 30 minutes and 15 grams at 10 minutes.

After 60 minutes boil, cool the wort to pitching temperature of the yeast. For all my lagers the pitching temperature is 9°c. My ground water is that cold during winter, however, during summer it is not. So I get the wort as cool as I can, and let the glycol chiller in the unitank do the rest.

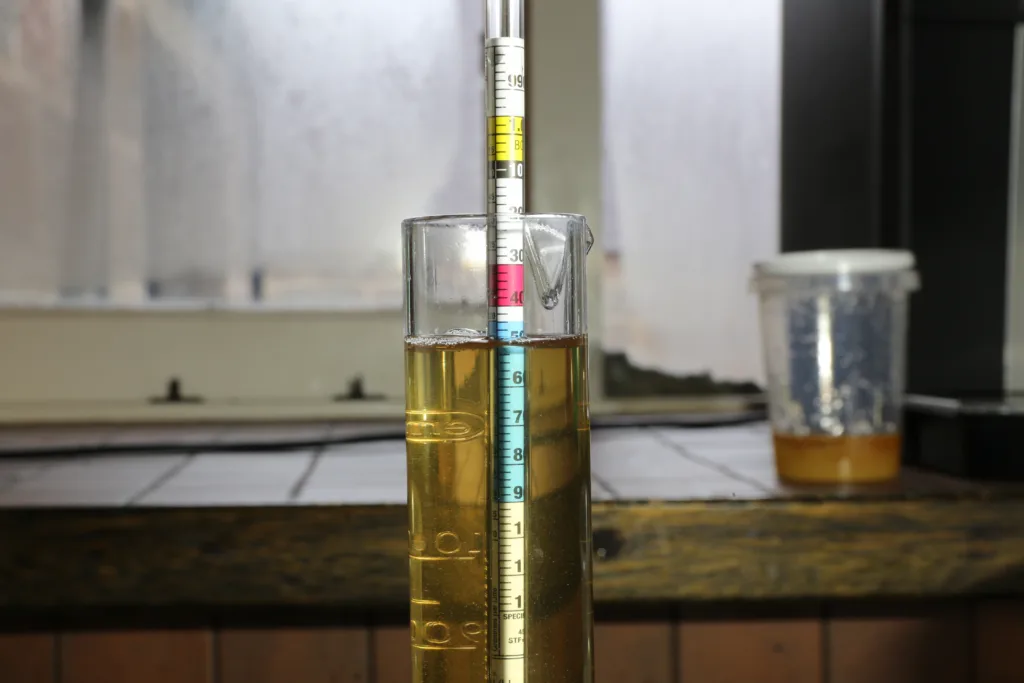
Once cooled, I can check the Original Gravity of the wort. The predicted gravity should be 1.048, and the hydrometer shows exactly that.
Transferring the wort
As my unitank is in another building, I need to transfer the wort to a container, just to transfer it again to the fermentor. I really need to build my home brewery.
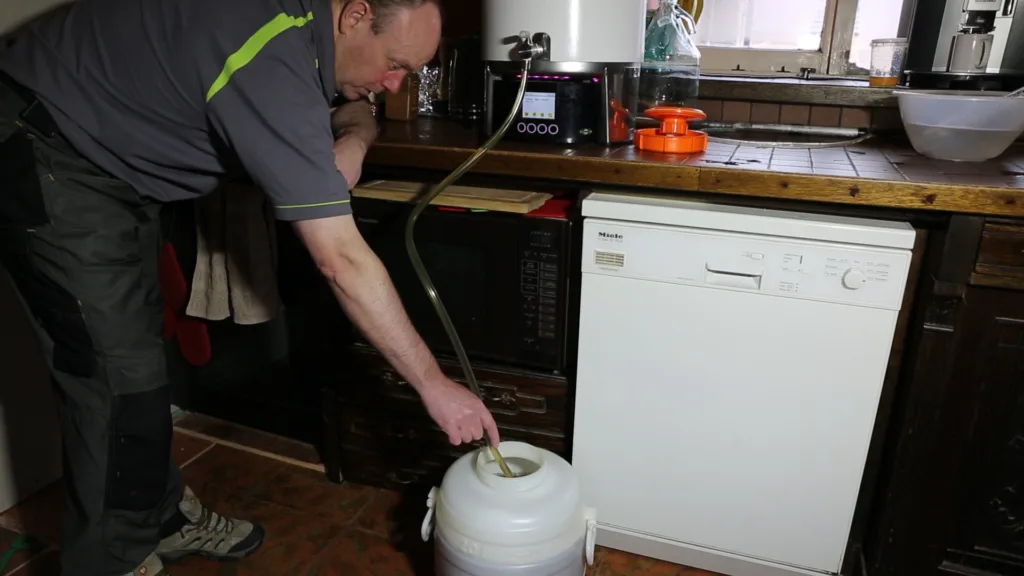
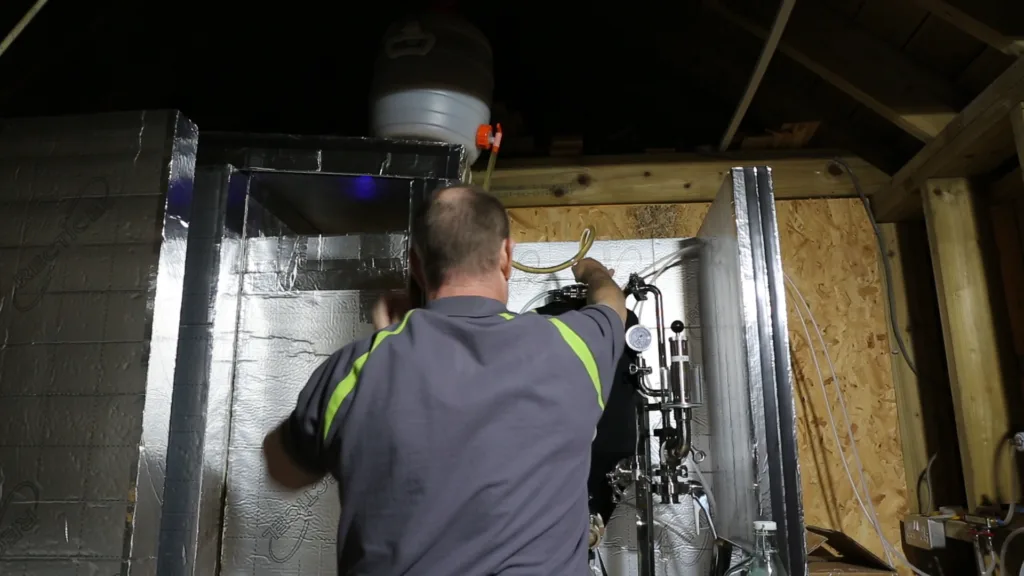
Once out to the fermentation room, the ‘transfer speidel’ is raised up on a haul system. This allows for a gravity transfer into the unitank.

And now the second transfer.
As this is a lager, I like to oxygenate the wort well. To do this, I am adding the oxygen through the carbonation stone.
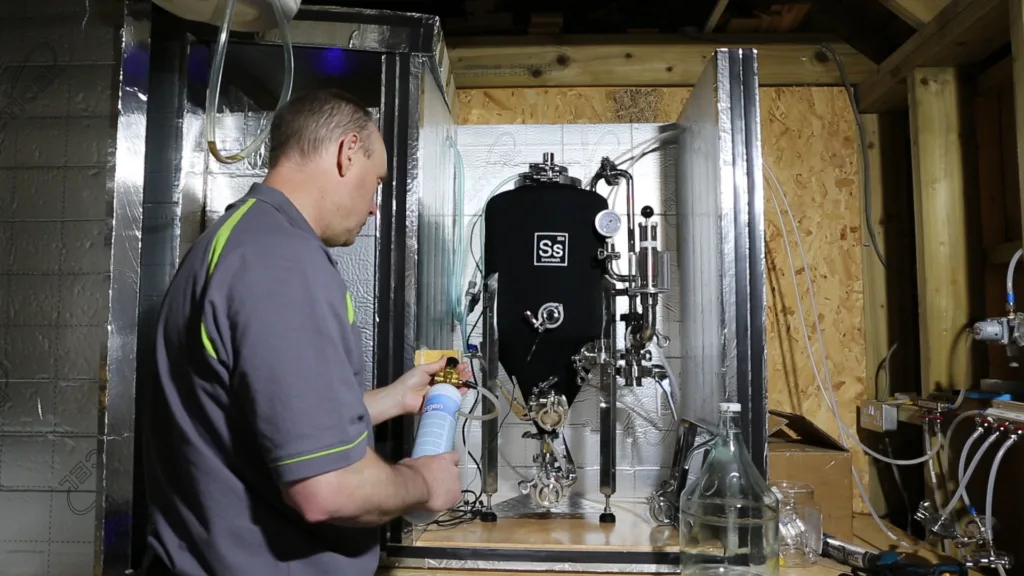
The yeast I’m using to brew this South German Pilsner is White Labs WLP835. This is the German x Lager yeast, apparently from a famous German monastery.
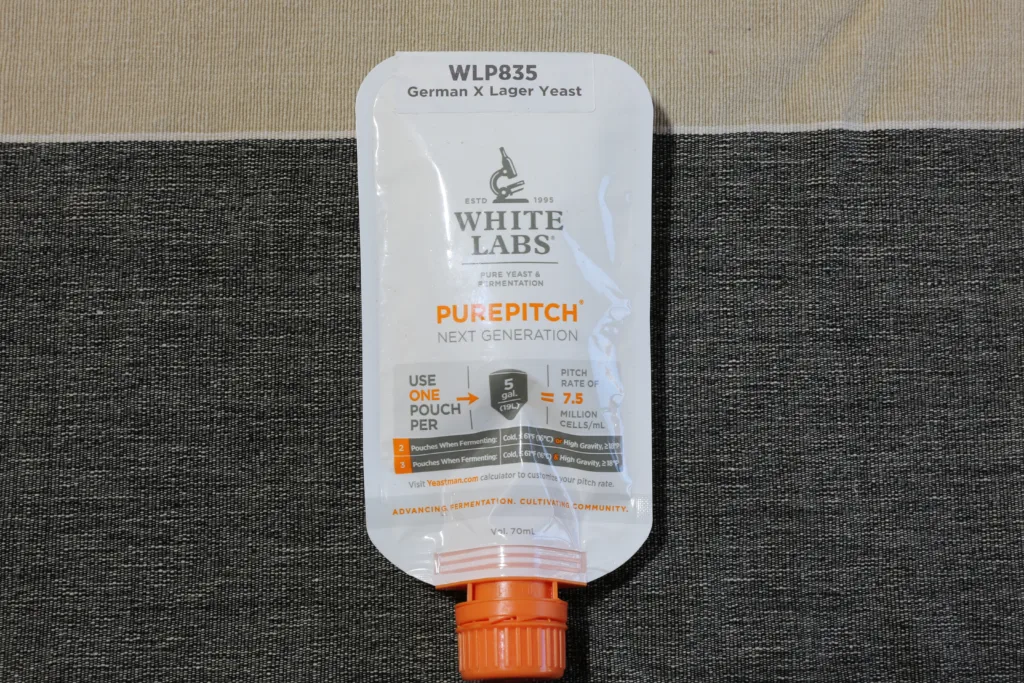
I’ve made a 2 litre starter, and decanted off the top liquid. Add the starter once the wort has cooled to pitching temperature.
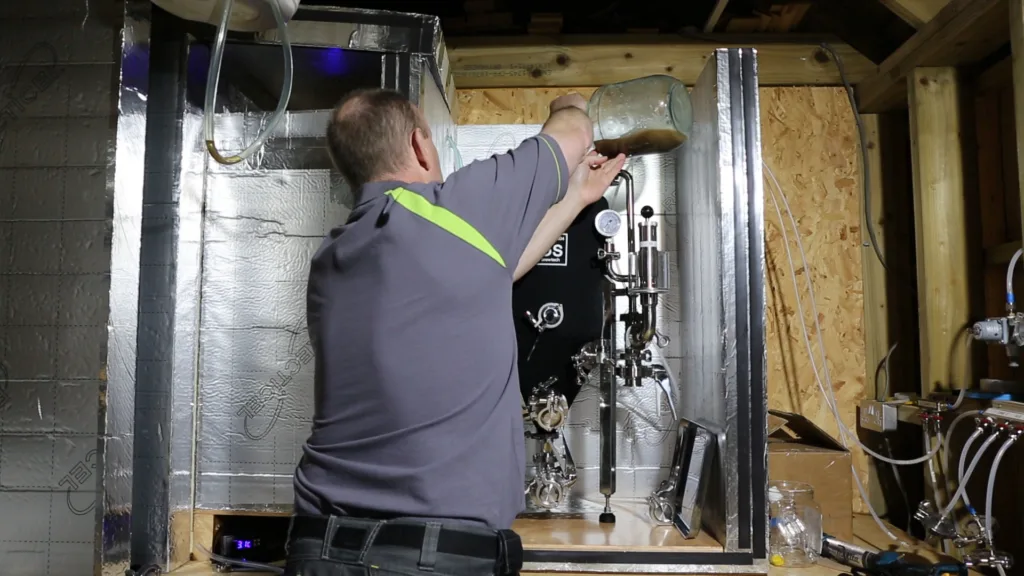
After 3 weeks fermentation, the German Pils is ready for transfer. The fermentation schedule for this started with one week at 10°c. After a week, when fermentation started to slow, I closed the spunding valve. This allowed me to ferment the remainder under pressure, and slowly raise the temperature over a period of two weeks up to 18°c.
Once at 18°c, I hold the lager for one week for a diacetal rest (D-rest).
On completion of the D-rest, I transfer across to my second tank, to clear, carbonate and bottle.
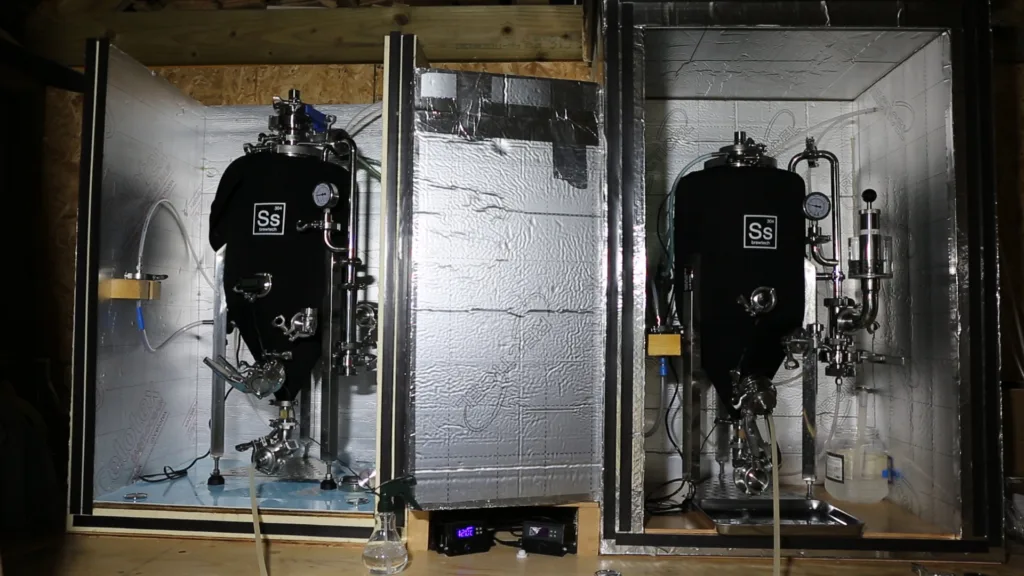
The Lager is then bottled with the blichmann beer gun.
Pouring and tasting
Well, I’ve brewed a South German Pilsner. The question is: How does it taste? Well…
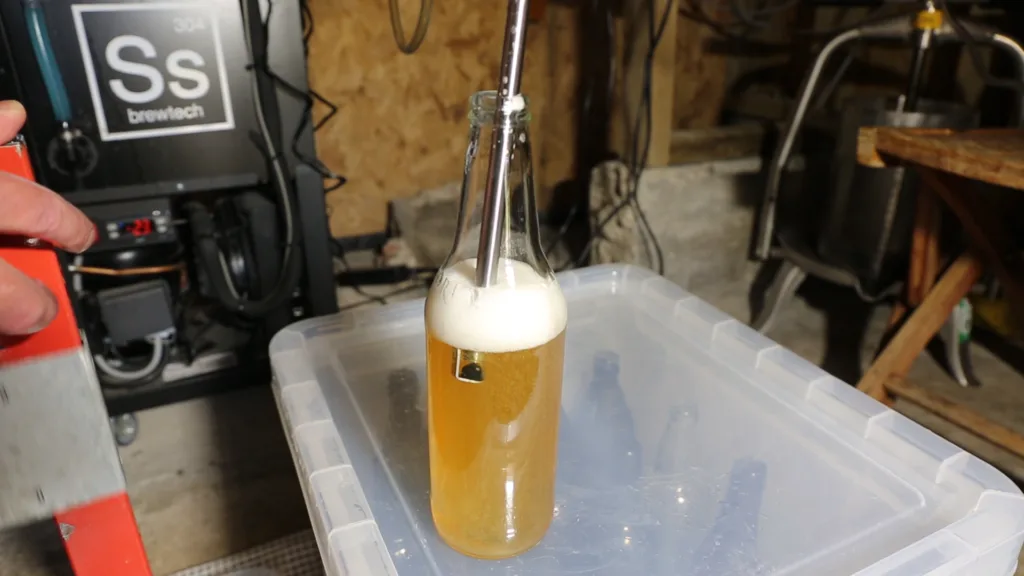
Opening the bottle, it has good carbonation. The carbonation is approximately 2.5 vol. This is enough to produce a good head on the beer when poured.
The lager is crystal clear, not quite filtered clear, but as you can see below, pretty good.
The aroma is of bready malt notes from the pilsner malt, and the first taste is also lightly bready. The Tettnang comes through nicely, with a nice bitterness and some lovely ‘noble’ herbal taste.
The WLP835 yeast is extremely clean, with a soft feel. This is an excellent yeast, and may become my house yeast for well-attenuated lagers.
All in all, this is a delicious example of a south German pilsner.
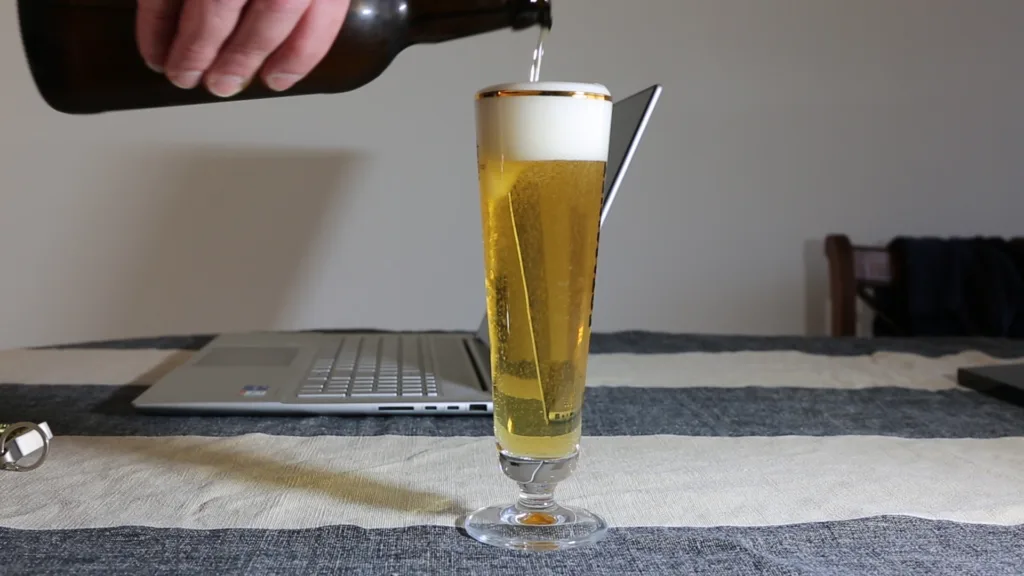
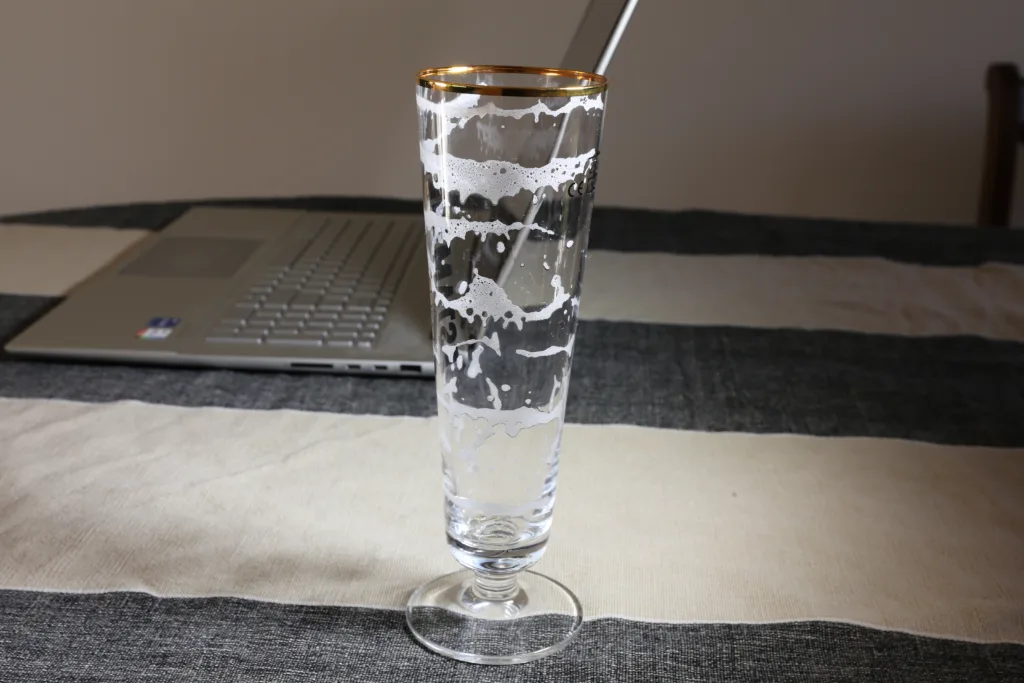
The Lager holds a nice head all the way through drinking, and gives great lacing down the glass.
I hope you’ve enjoyed this article on how to brew South German Pilsner, and if you’d like to see the YouTube video of the brew, please click here.