While this is about how I brew a brown ale, I won’t try to tell you it’s a typical Brown.
Having trawled through the categories, I had to conclude that whilst this is a brown ale, it’s not a typical English/British Brown, but nor is it a Belgian style, which is relevant considering the amount of Special B malt and Candi Sugar. So, the closest descriptor I can come up with is a Dry Brown Ale, or possibly a new age American Amber Ale. Read on to see how to brew the ‘Duck Nose Brown’ ale.
This started after drinking a Pelforth Brune one sunny day at a street cafe in the south of France. I came home and started to try to clone that beer, but after years of making this, and changing elements of it, the beer has drifted unrecognisably from it’s beginnings, and has almost become it’s own category. So is the way of my brewing…
Let’s have a look at the recipe.
Ingredients
Fermentables
2800 g Pale Malt (72.4%)
420 g Wheat Malt (10.9%)
400 g Chateau Special B (10.3%)
250g Amber Belgian Candi Sugar (6.4%)
Hops
26 g Northern Brewer @ 60 minutes (27.3 IBU)
Yeast
White Labs WLP002
Water
Ca: 50 ppm
SO4: 70 ppm
Cl: 55 ppm
As you can see, for a British Brown, it’s an unusual choice for Chateau Special B. However, I’m not a big fan of crystal malt, I find it too sweet and cloying, whereas whilst Special B is technically a crystal malt, and gives all the crystal flavours, it is much drier. I find that this Belgian crystal malt gives the impression of sweetness, without that cloying crystal malt taste.
Also, the Candi Sugar is not usual for a Brown ale, if sugar is used, it tends to be just a dark sugar
I find the Candi Sugar helps to thin the beer of the beer back to a very drinkable level, but at the same time adds it’s own impression of caramel sweetness.
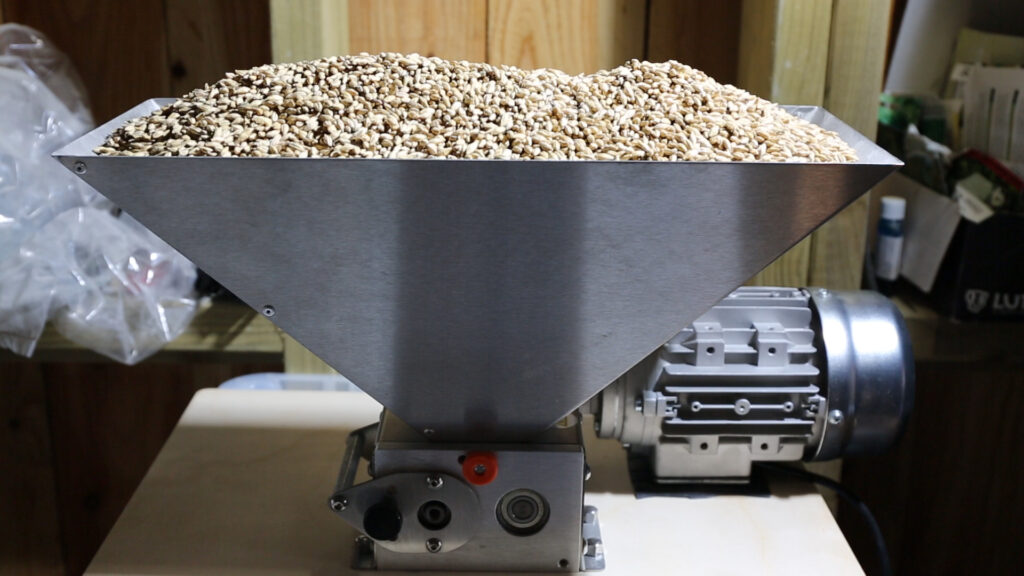
Measuring up
Having weighed out the grains, I am milling them to 1.1mm, which I find is the optimal for the Braumeister system
For the water minerals, I am going for a fairly balanced profile, but a slightly more mineral content than a yellow balanced. If you want more malt dominance, then just increase the chloride levels.
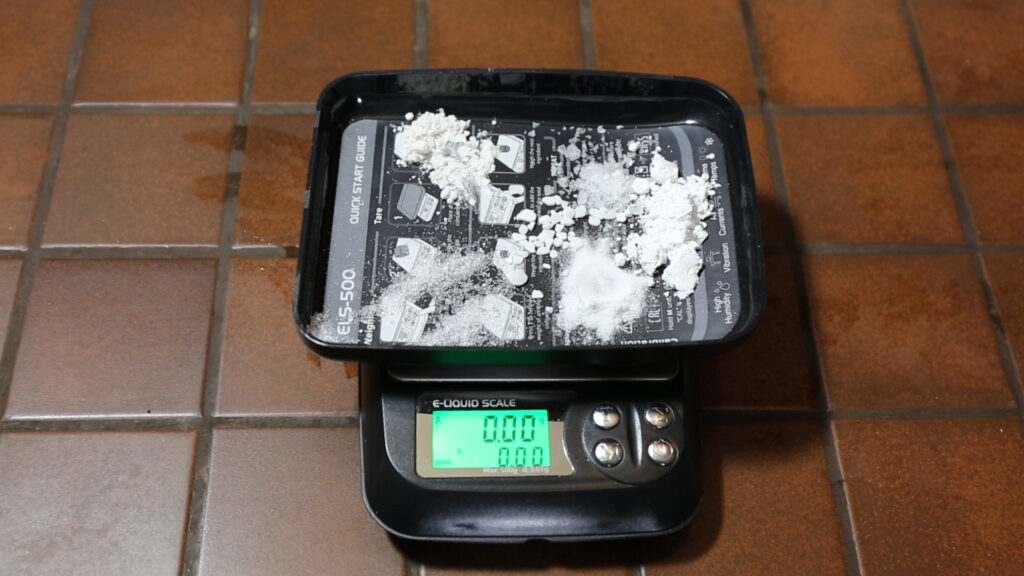
The minerals are added to our 25 litres of water. I am doughing in at 40°c, which I find allows a better mixing of the grains, with less dough-balls.
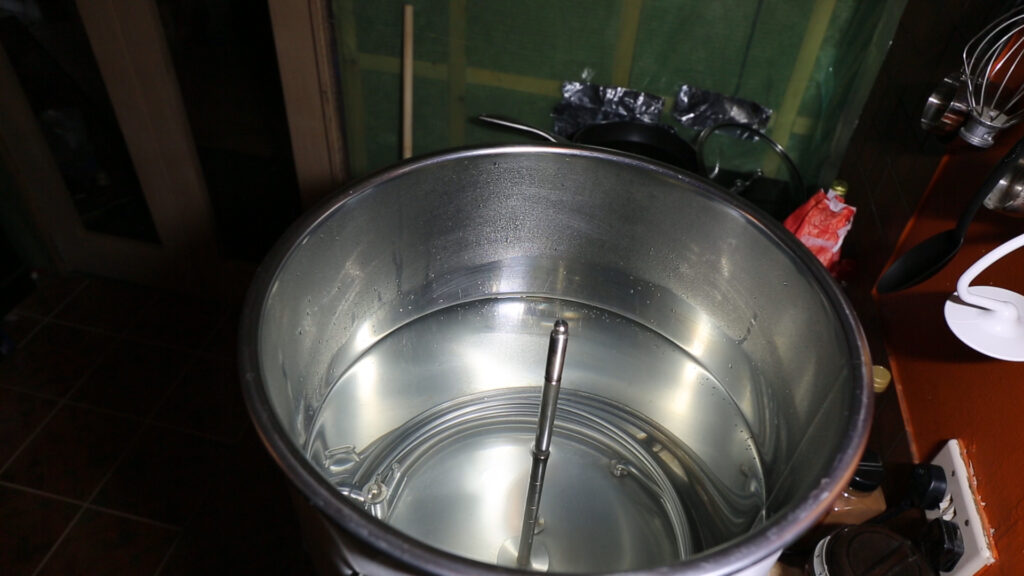
The Mash
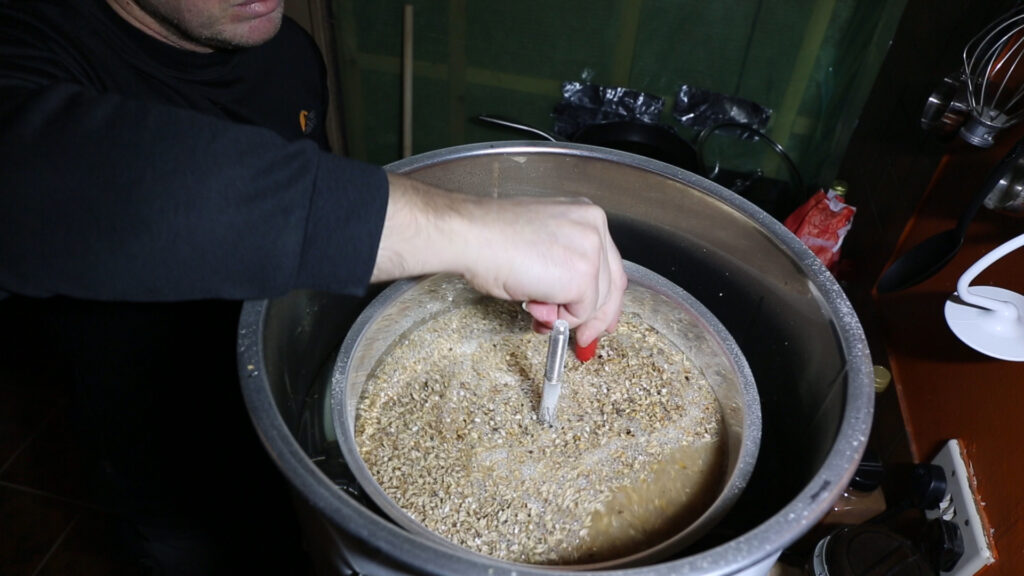
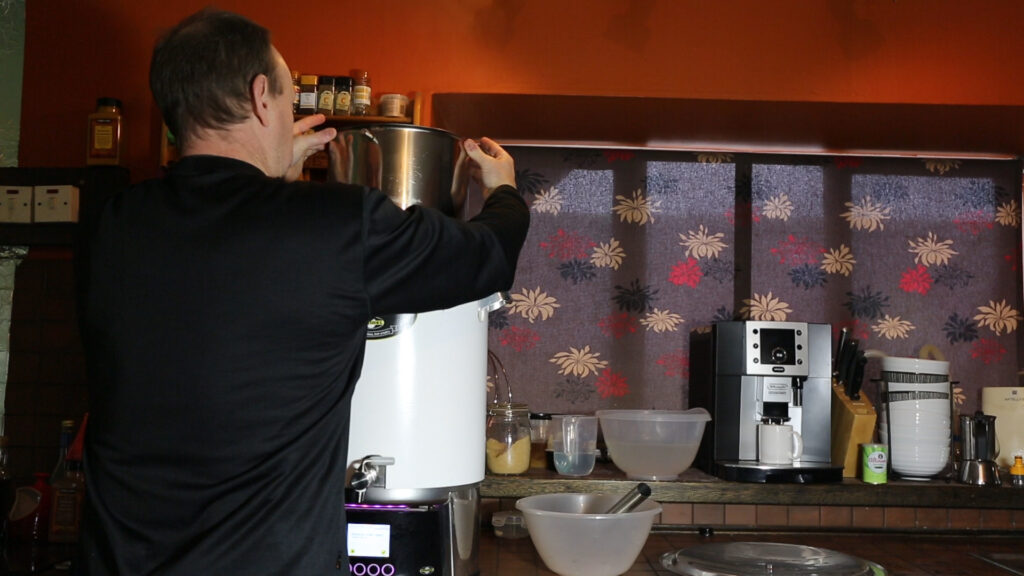
Once the water is up to temperature, the malt pipe is put in,and the grains are added.
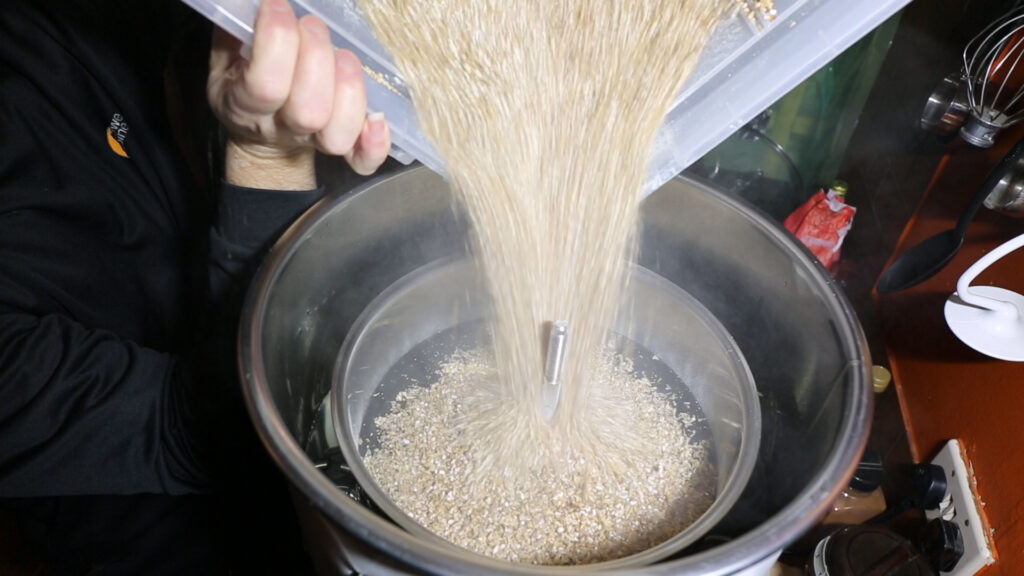
As usual, always give the grains a good stir, to break up any lumps or ‘dough-balls’
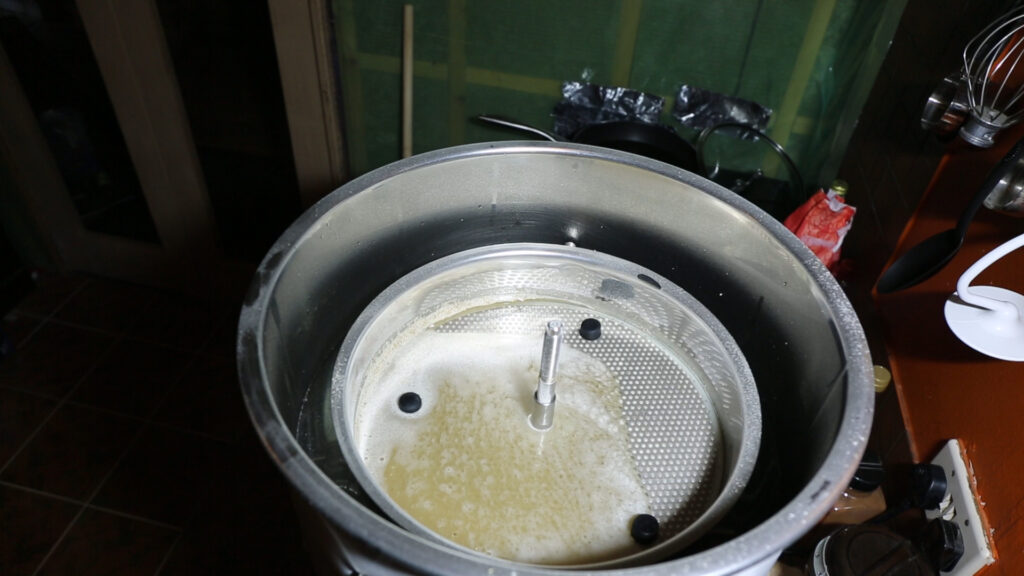
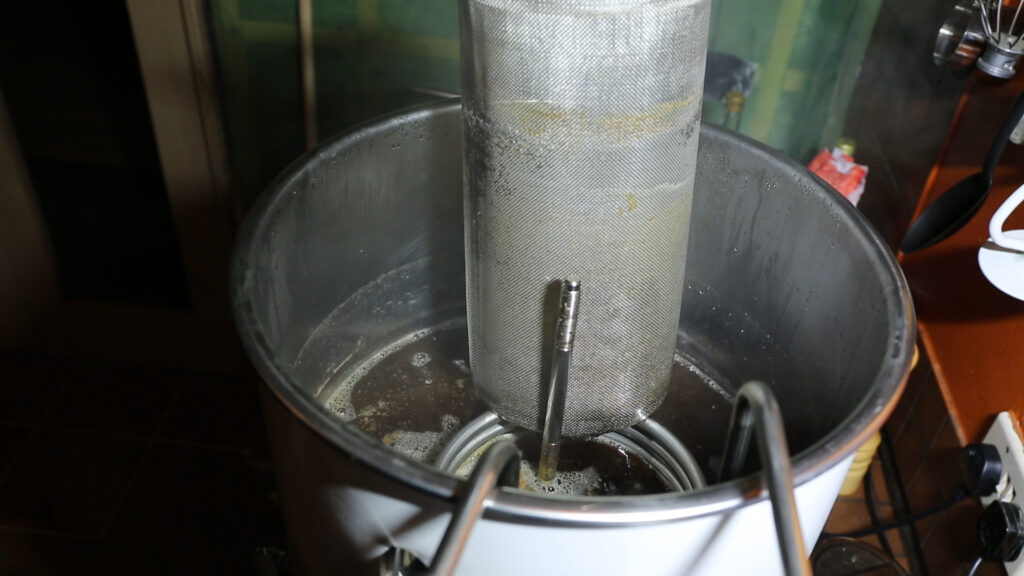
Then on with the top filter. You can see the black magnets on the filters. I use these to hold the fine filter against the course rigid one. This keeps the two from splitting apart during the pump breaks. It also helps when I’m pulling the filters out for decoction mashes.
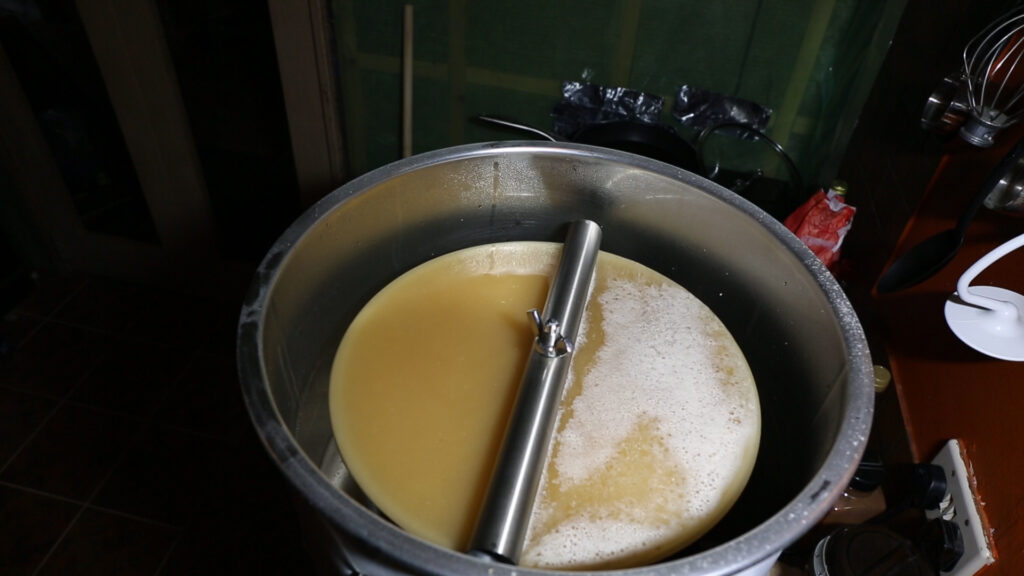
Start the re-circulation, and begin the temperature rise to our mashing temperature. This will be a two step mash. The first is 30 minutes at 65°c, and the second step is at 71°c for another 30 minutes.
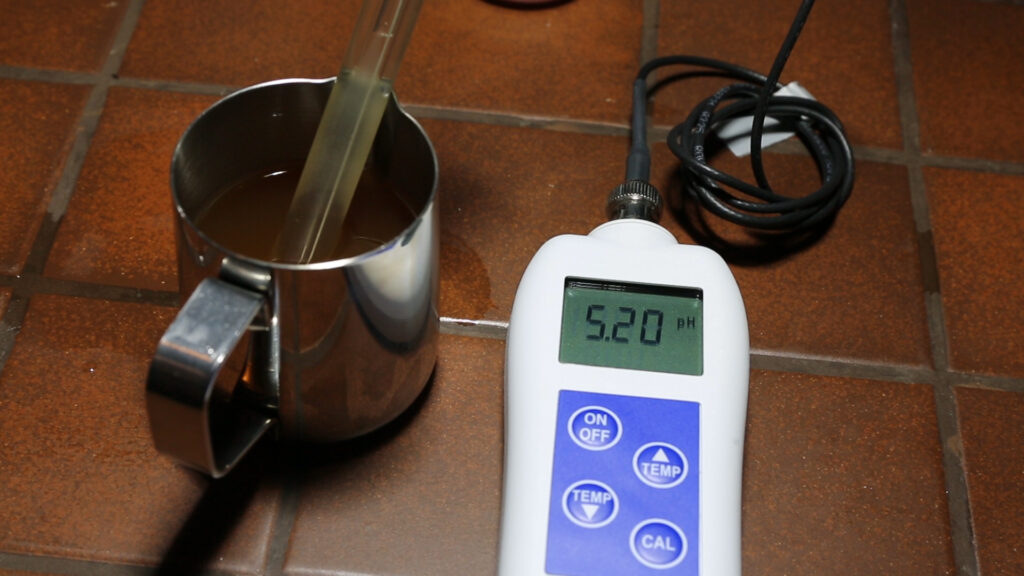
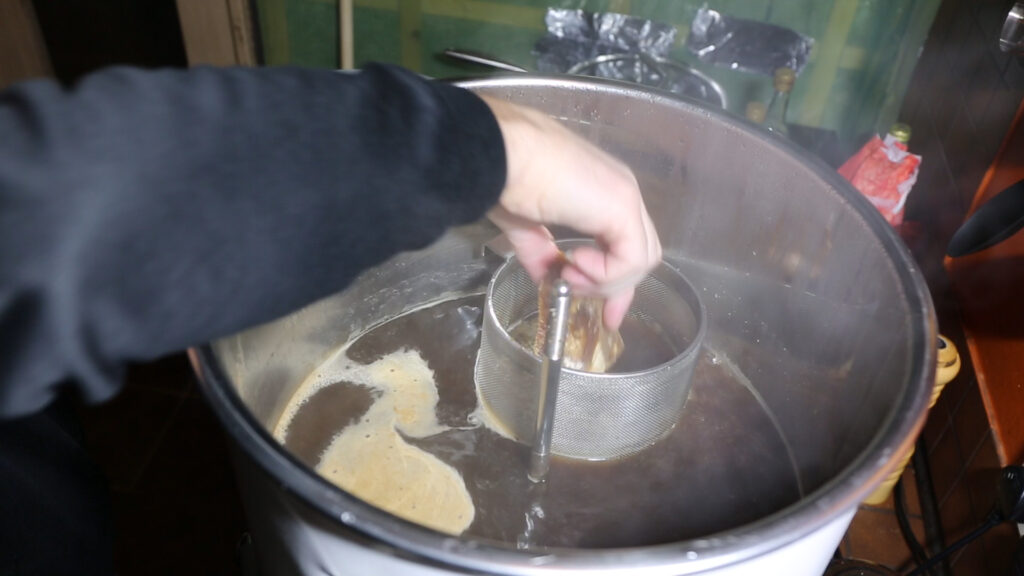
When the mash reaches the low 60’s celcius, I am taking a ph reading. The level i’m aiming for is 5.2 to 5.3, so our reading of 5.2 is fine.
After the 60 minute mash and a 5 minute mash out at 77°c, the malt pipe and grains are removed. The temperature is now increased, and the boil is started.
Start the boil
Once the wort is at a rolling boil, add the Northern Brewer hops for the full 60 minute boil.

It’s also time for the amber Candi Sugar. This I like to place in the hop basket. That way the sugar dissolves and mixes into the wort very easily. Sugar placed directly in the kettle tends to form into a lump on the bottom. Worse still, it can get on the element and burn itself to it.
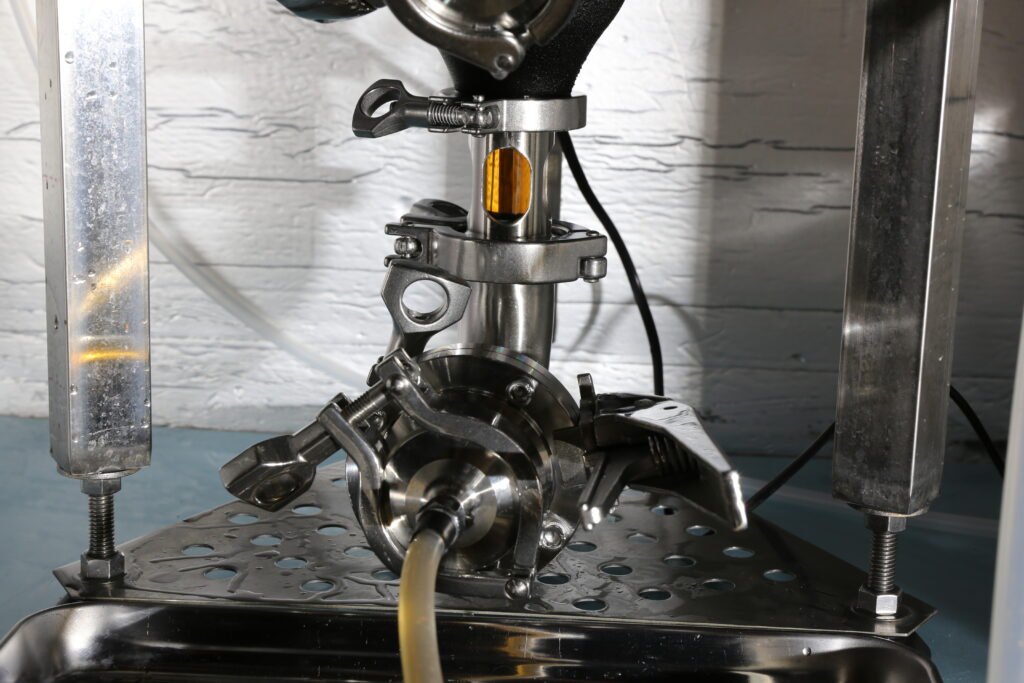
Cooling
At the end of the 60 minute boil, remove the hop basket, and add the cooling coil. Cool the wort to the fermentation temperature of 18°c.
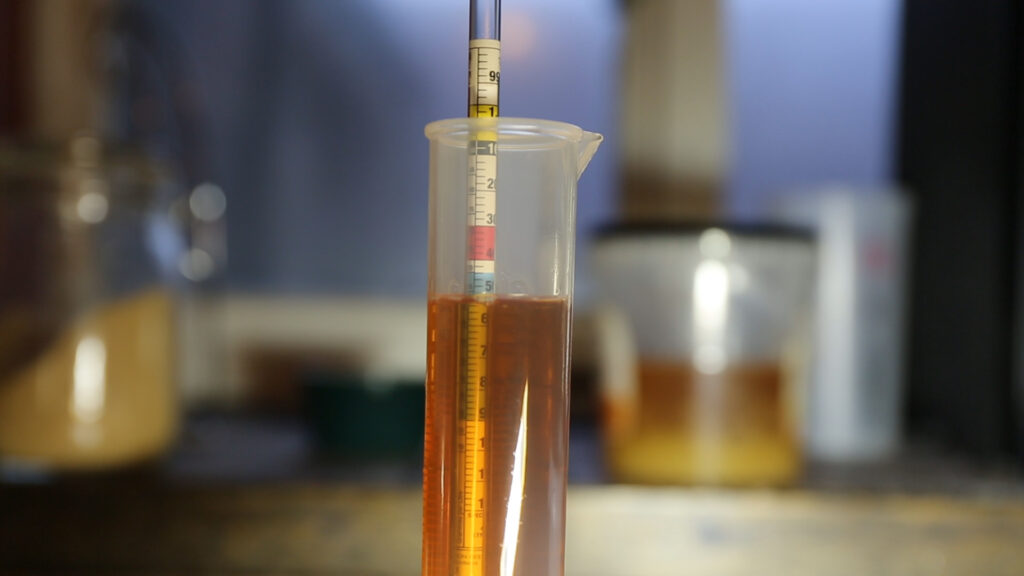
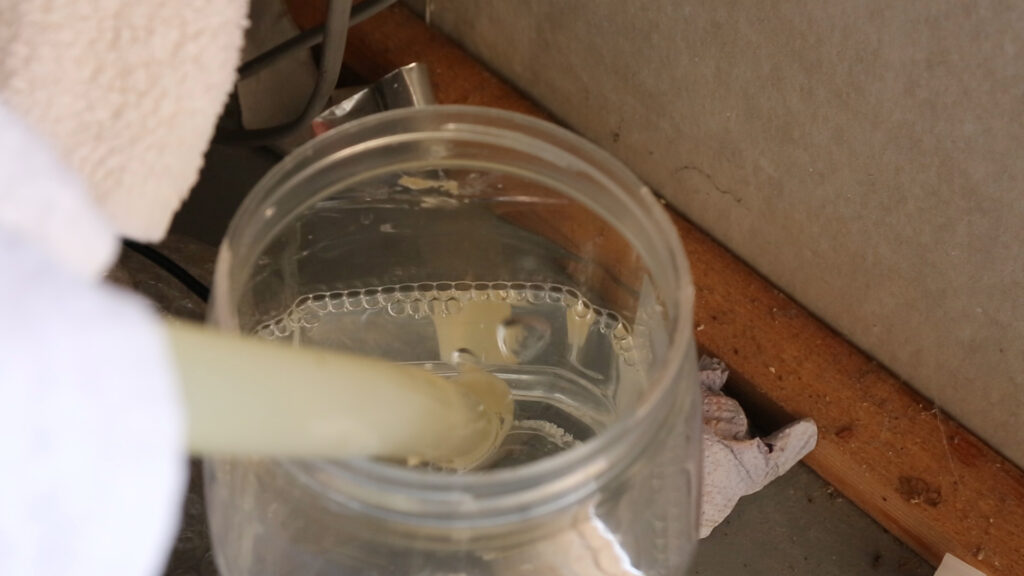
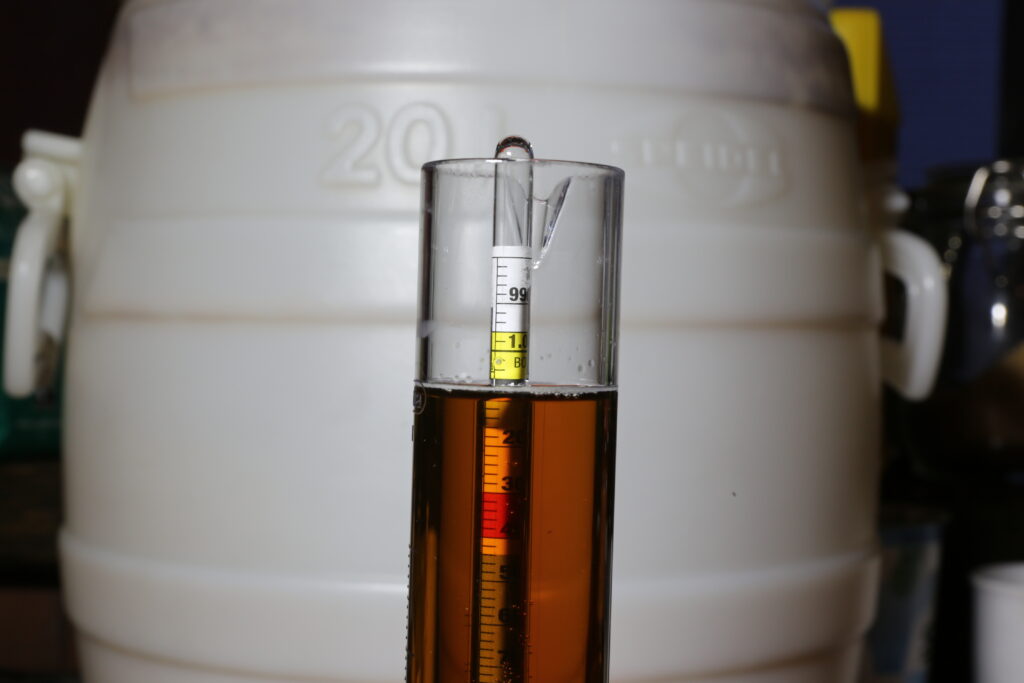
With the wort cool, a hydrometer sample shows an Original Gravity of 1.051
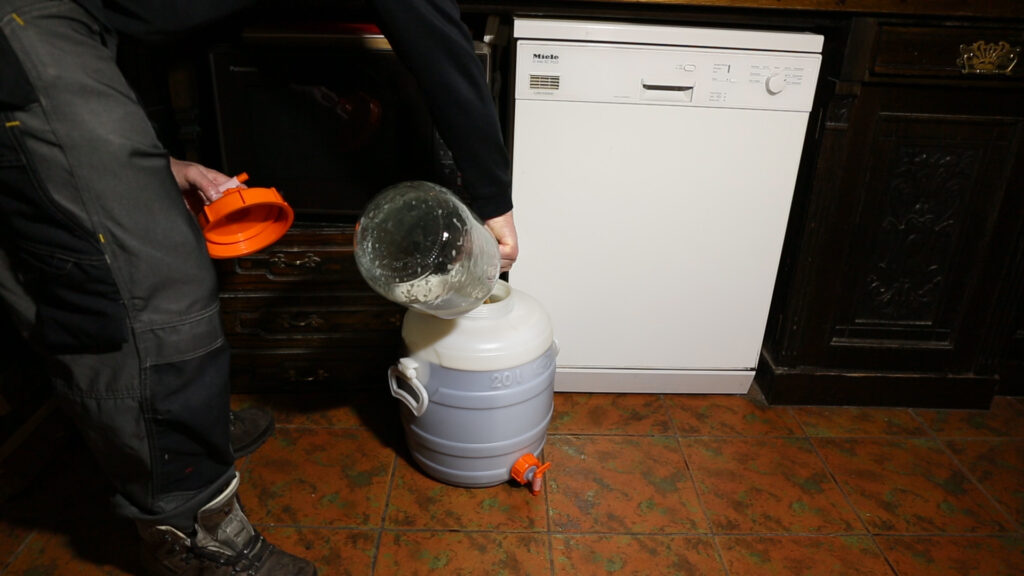
So it’s ready for transferring to the fermentor. I’m using a Speidel fermentor for this, and it will be sitting on a temperature controlled heat mat for fermentation.
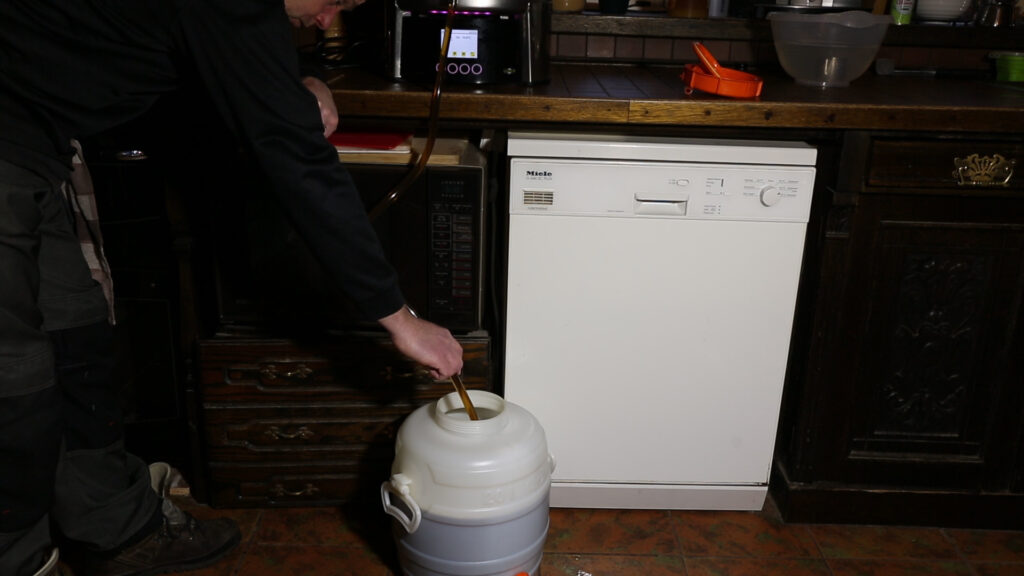
As it’s a liquid yeast I’m using, it’s gets a 30-6- second blast of oxygen.

The oxygen flow rate is quite low. Reduce the flow until bubbles are just appearing on the surface of the wort.

Finally, pour in the yeast starter of WLP 002. We’re on our way to a Duck Nose Brown Ale.
Fermentation
I have normally fermented this with Safale S04, and the fermentation has started very quickly. This activity usually lasts for about 1 week, and then stops 8 points short of FG, only to start again after another week and a half. It then continues for another 2-3 weeks very slowly.
This time I am using WLP 002. Activity starts much the same, but continues for about 2 weeks to get within about 5 points of final gravity. I thought that was it…. and then….. see below.
After one week of no activity, all of a sudden, bubbles. This lasted for about 1 week, for a total fermentation time of 4 weeks. This is better than the almost 6 week fermentation of the S04.
I guess it’s not surprising that these act in a similar way, both being English Ale yeasts, producing similar ester results, however I believe the WLP002 is a Fuller’s strain and the S-04 was always thought to be a Whitbread strain (although there seems to be some evidence against this now), and so genetic differences are there, even if they were possibly once from the same origin.
With fermentation finally complete, the Duck Nose Brown Ale gets transferred to the unitank for clearing and carbonation.
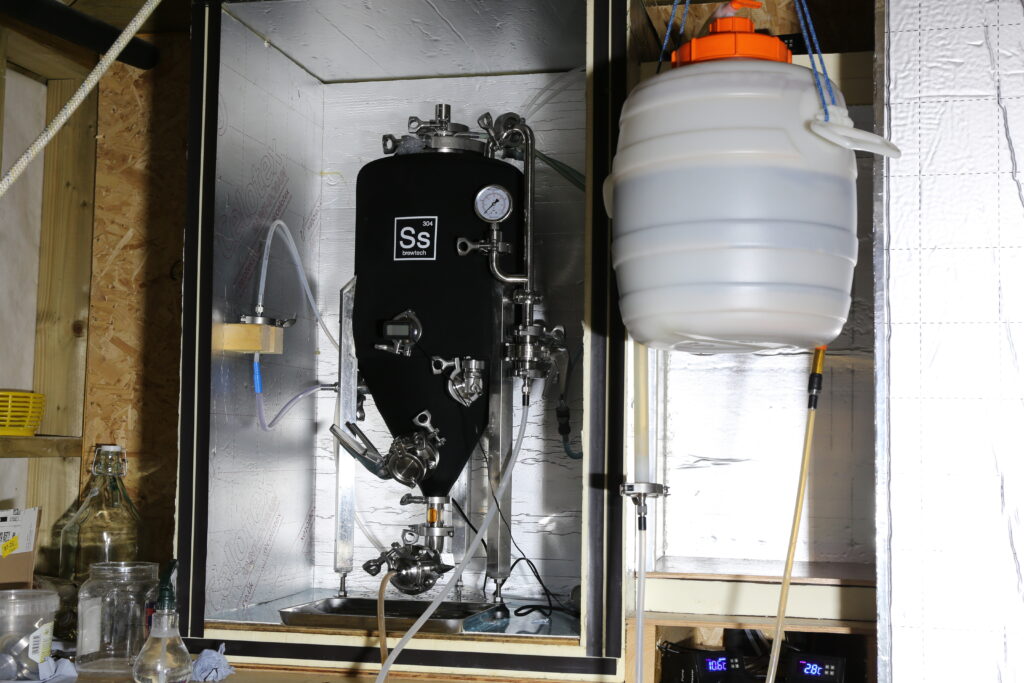
As you can see, it’s already very clear. A great feature of these English Ale yeasts.
The Final Gravity ended at 1.008 giving an alcohol volume of 5.7%
Once carbonated, the beer is bottled at about 2.4 volumes of CO2.

The Tasting
The aroma of this beer is of caramel and ‘almost’ burnt sugar. There is a faint fruity characteristic to it as well, which is coming from the English ale yeast.
The first sip follows a similar path, caramel and well cooked sugar, with a fruity, almost banana but not quite, taste. It’s not like cloyingly sweet crystal or caramel malt, It’s more dry, and easy to drink. This is not any sort of English brown ale, it is definitely closer to a dry American Amber, but with a yeast influence of some fruity esters.
This is an extremely easy to drink ale, well suited to all day BBQ drinking in the sun, or maybe sitting by a river somewhere….
Watch the full brew process on YouTube here.